
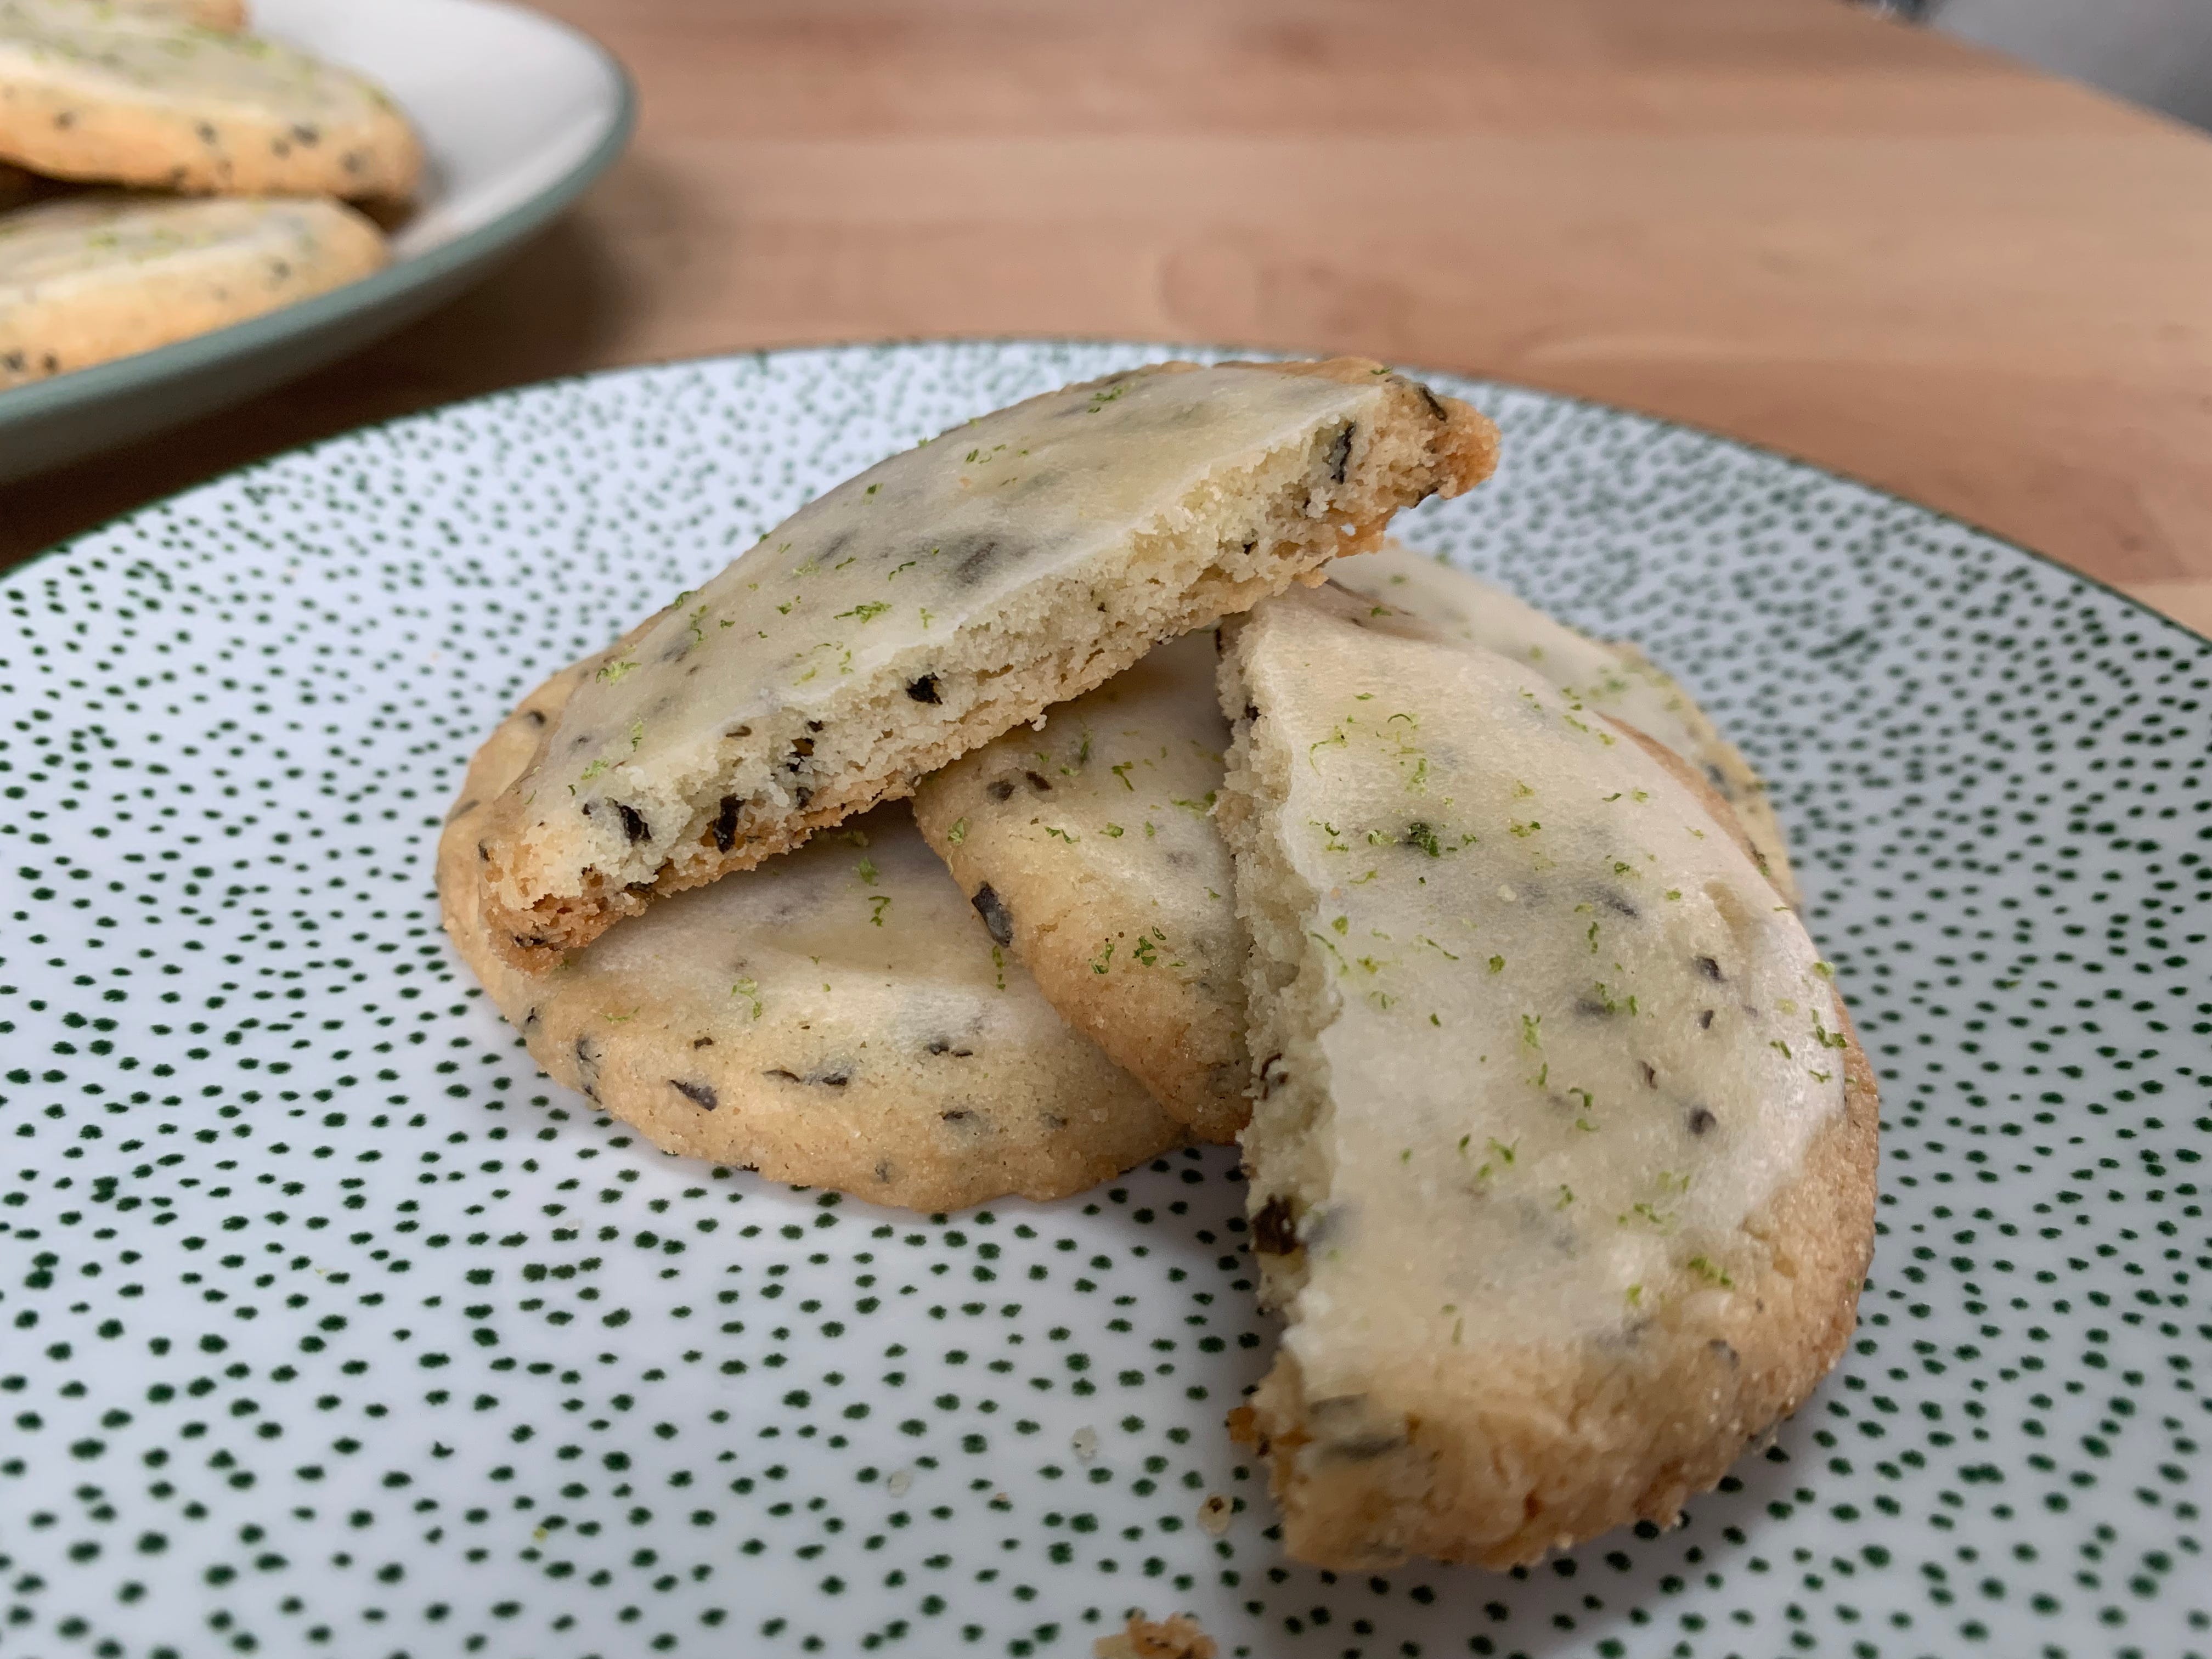
Lime and Basil Shortbreads
Confession: My first shortbread recipe, Raspberry Almond Shortbreads, was not perfect.
The recipe
Yield: about 2 dozen
Time: 2 hours
Ingredients
Cookies:
2 sticks (1 c or 226 g) salted butter, room temperature or a little cooler
5 tsp dried basil
½ c (100 g) sugar
2 ⅓ c (300 g) flour
Lime glaze:
¾ c (92 g) powdered sugar
1 tbsp (10 g) salted butter
3 ½ tsp (20 g) fresh lime juice
one lime’s worth of zest (optional)
Instructions
Cookies:
1. In a stand mixer fitted with the paddle attachment, beat the butter and the basil on medium-high until the butter is soft and fluffy, about 5 minutes.
2. Add the sugar and beat again on medium-high until the butter has lightened a little in color, another 2 minutes.
3. Add the flour and mix on low speed, scraping the bowl once or twice, until completely combined. The dough should be smooth and the flour should be evenly distributed.
4. Transfer the dough to another sheet of parchment paper and form it into a rough log shape with your spatula. Roll the parchment around the dough and roll the dough into a log shape about 10 inches long. Place it in the fridge to firm up for 30 mins if your butter was at room temperature and 15 mins if it was cooler.
5. Preheat your oven to 350°F and line two cookie sheets with parchment paper.
6. Once the log has chilled a bit, take it out and reshape it. Roll it into a rounder log (it will have flattened on the bottom) and neaten up the ends. Place it back in the fridge to chill for another 30 mins.
7. Once the dough is chilled, unwrap it and slice the cookies about ¼ inch thick. Place them 1 inch apart on the baking sheets and bake for 16–18 mins, or until the edges are a deep golden brown. If you don’t want your shortbreads to be as crunchy, bake them 2 mins less.
8. Let the cookies rest for 5 mins on the sheets, then transfer to wire racks to finish cooling.
Glaze:
1. While the cookies are baking, make the glaze. Melt the butter in the microwave, then add the rest of the ingredients to the bowl and stir well until no lumps remain. Save the lime halves for zesting.
2. When the cookies are cool, use a spoon to spread a very thin, translucent layer of glaze on each cookie. You will have some leftover glaze.
3. Grate lime zest over the glaze while still wet. Let the glaze set for about a half hour before stacking and storing cookies, but they’re ready to eat right away!
Notes and tips
If your butter is cooler than room temperature but still soft enough to work with, this is the perfect texture. Room temperature makes your dough so soft it’s harder to roll into a log, but colder butter will make shaping easier.
Adding the basil to the butter helps to bring out the flavor of the basil, because it has a chance to work its way through the fat and flavor the butter before the other ingredients get added.
I tried fresh basil in this recipe, but dried is easier and worked much better.
The story
No promises that this recipe is perfect, either. And it’s not that this one tastes better than the first. It is just easier and has a crunchier texture, which are two big wins. I spend a lot of my time thinking about the best possible version of a recipe, which involves balancing time, effort, and difficulty as well as flavor. My priority is flavor, so I promise the most exquisitely delicious baked goods you can get. Sometimes this involves more time and extra steps, but nothing that I think is excessive. You might disagree.
The biggest challenge to these cookies was shaping them. I tried the method I used for the Raspberry Almond Shortbreads, where I rolled out the dough into a thin rectangle, cut it into bars, chilled then, and then baked them. Confession: It was difficult for me to do.
This is a very soft dough because of the high butter to flour ratio. It’s also why it’s delicious, so I didn’t want to have to increase the flour until I’d exhausted all other options. I tried spreading the dough in a parchment-lined pan, baking it, then cutting the whole block into bars while it’s hot. I had a hard time spreading the dough evenly because these cookies are thin, but I didn’t want to make them thicker because they would lose some snap. I tried the classic slice and bake method, where you roll dough into a log, chill it, and then cut it into rounds, like my mom does with the sand cookies she makes every Christmas. That one worked like a charm. The only tricky part is re-rolling the log partway through the chill, effort I thought was worth it for a near-perfect shape, but you might not care enough to bother. That’s fine by me.
I also had to make sure the flavors were right. I started by using fresh basil, which required washing, patting dry, and chopping before I could even start making the dough. And the first batch didn’t even have much flavor. I pivoted to dried basil in the hope that the easier way would also prove to be better, and I got lucky. This isn’t always the case, and then I’m faced with a tough decision: do I trade off flavor for ease of making a thing? Do I ask my readers to juice their own oranges for the Triple Orange Cake instead of using what comes in a carton? Yes. It was so fresh and sweet and you got the added bonus of the aromatic zest in the cake. But for the Pat-in-a-Pan Pie Crust, the point was to make things easy, so anything that dirtied more than one dish or took more than five minutes was a no.
So here you are: cookies that require time and work but that I think are absolutely delicious. I hope you do, too.


Spread the snob
If you like this recipe, please recommend Confessions of a Cake Snob to someone you know! Follow me on Pinterest or Instagram for more ways to view and save the recipes. Please share this newsletter with a friend, comment on the website, or bake it and let me know how it went for you! Email me with comments, ideas, and suggestions at confessionsofacakesnob@substack.com.