
Homemade Choco Pies
For his birthday, my husband, BC, asked me to make an insanely complicated dessert. Because I am the best wife in the world, I agreed.
The recipe
Yield: 30 Choco Pies, 15 servings
Time: 5 hours
Ingredients
One batch Perfect, Easy Vanilla Cake batter
Marshmallow fluff or homemade marshmallow
1 and ½ lbs of dark chocolate bars
Instructions
Filling:
1. If you are making your own marshmallow filling, use this recipe and spread the marshmallow in a 12 x 17-inch sheet pan that has been dusted heavily with powdered sugar. (The marshmallow will be thin.) Let it set for 3 hours at room temperature.
Cake:
1. Preheat your oven to 350°F. Line two standard sheet pans (12 x 17 inches) with parchment paper and grease the sides. If you only have one sheet pan, bake the cake in batches.
2. Pour half the batter into each sheet pan (584 g in each; I measured!) and use an offset spatula to gently smooth the cake batter as evenly as possible.
3. Bake the cakes for 7–9 minutes, until the center of each cake springs back when you press it lightly with your finger.
4. Let the cakes cool for 5 minutes in the sheet pans, then turn them out onto wire racks to finish cooling completely.
Assembly:
1. Using a 2 ½-inch cutter, cut 30 circles out of each cake and out of the homemade marshmallow. You should have 60 cake circles and 30 marshmallow circles.
2. Sandwich the homemade marshmallow between two layers of cake, or pipe a small amount of marshmallow fluff in the middle.
3. If you’re crazy like me, temper the chocolate. If not, just melt it.
a. Tempering instructions: chop up all of the chocolate and set aside ¼ of it for later. Melt the remaining ¾ in a heatproof bowl set on top of a pot of simmering water, stirring constantly, (Make sure that the bowl doesn’t touch the water.)
b. Once your chocolate reaches 122°F, take it off the heat immediately and stir in the unmelted chocolate. Stir constantly until the chocolate cools to 90°F.
4. Spoon chocolate on the tops of the Choco Pies and use an offset spatula to smooth them out. Set them on a wire rack to set. If the chocolate isn’t tempered, refrigerate the Choco Pies. Once the tops are coated, repeat this process on the bottoms of the cakes.
5. When both top and bottom are set, gently roll the sides of the cakes in the melted chocolate and shake off the excess. Leave on a wire rack to set.
6. If using marshmallow fluff, enjoy the Choco Pies the day you make them or the day after. The fluff absorbs into the cake with time.
7. If it’s hot in your kitchen, store the Choco Pies in the fridge so they don’t melt. If they melt, they’ll lose the temper. (Yes, I am aware of the pun and I hate it but I couldn’t think of a better way to reword this sentence. Don’t come at me.)
Notes and tips
You’ll have some leftover cake triangles, marshmallow, and chocolate after cutting out circles and coating the Choco Pies. Layering the pieces in a dish will make a nice mini trifle which tastes delicious and prevents waste.
The temperatures for chocolate tempering are for dark or semisweet chocolate. If you use milk or white instead, the temperatures will be different.
When tempering chocolate, you need to stir constantly to prevent hot spots from forming in the bowl. This is also the reason the bowl shouldn’t touch the simmering water. All of the chocolate needs to be at the same temperature.


The story
Confession: This is one recipe I don’t expect anyone else to make. Enjoy the ride of my insanity.
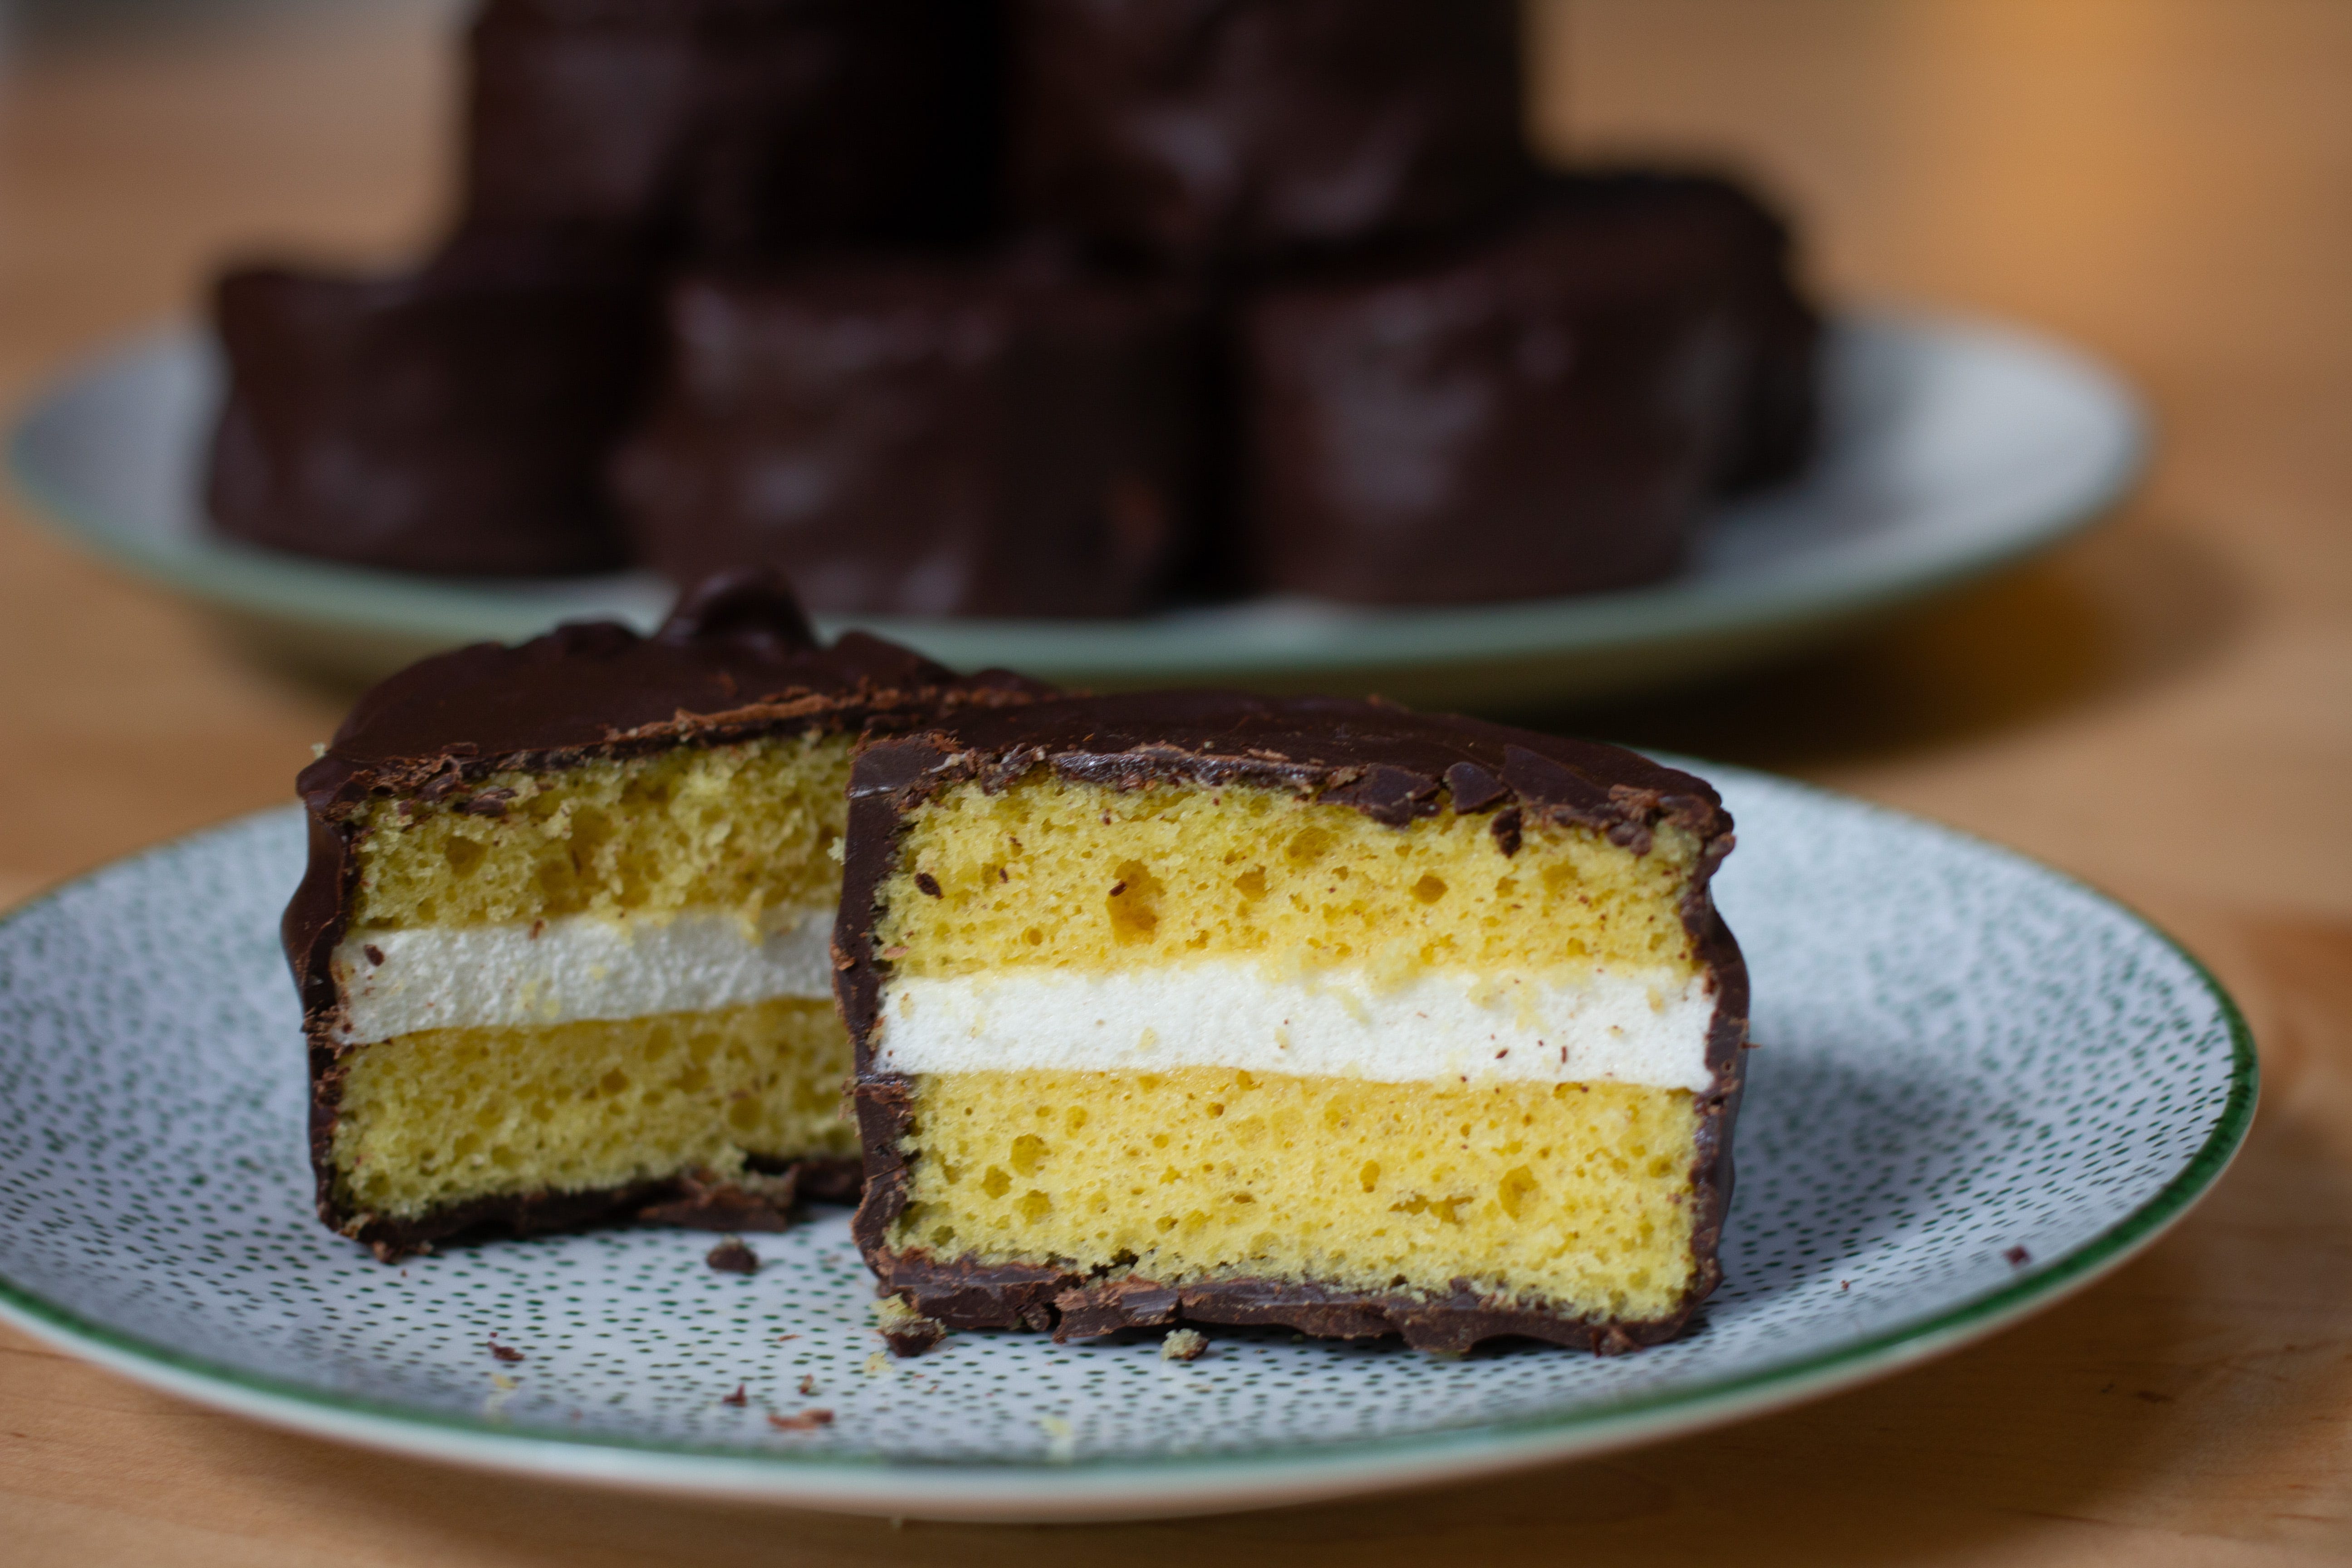
BC wanted me to make homemade, gourmet Choco Pies. For those of you who don’t know, they are a Korean snack (inspired by Moon Pies) that consists chocolate-coated yellow cake sandwiching marshmallow filling. I tried to take the easy way out with this one. I truly did. I started with my Perfect Vanilla Cake (an easy recipe) and filled the Choco Pies with Marshmallow Fluff, the stuff you buy in a tub at the store. But the easy way didn’t work. The cakes started absorbing the fluff, and on my first bite I knew: it was way too sweet. Homemade marshmallow filling it was.
But that wasn’t even the complicated part. The problem was the chocolate coating. (And me. Hi. I’m the problem; it’s me.)
BC explicitly told me I didn’t have to temper the chocolate—he knew how much work it was. Tempered chocolate has a special crystal structure, so it sets quickly when you coat something with it, it doesn’t melt easily in your hand, is gorgeously shiny, and it cracks and shatters when you bite into it instead of crumbling. (It’s the kind of chocolate you’d see on the outside of a fancy truffle, not the kind on the outside of a Milky Way bar.) The most common way to achieve this finish is to take a few bars of already-tempered chocolate (any decent bar should come tempered), melt most of it to a certain temperature, then add some unmelted chocolate and stir constantly until it cools to its “working temperature.” Oh, and you must melt it over a simmering pot of water so that it doesn’t exceed the initial melting temperature, but don’t get a drop of water in it, because that will make the chocolate curdle and render it useless. It’s not an easy process.
What BC didn’t know is that my beef with chocolate would drive me to insanity. When I was baking the Chocolate Covered Strawberry Cream Puffs, I attempted tempering the chocolate. Twice. It didn’t go well either time, and I finished that recipe angry and confused. And when the opportunity came up to do it again, of course I had to prove to myself that I could win against the chocolate. I couldn’t take the easy way out.
I decided to use my sous vide to make a water bath of precisely 122 degrees. That way I’d be sure the chocolate wouldn’t exceed the goal temperature. And I wouldn’t have to stir it while it melted. When it finally came up to temp, I seeded the chocolate with some pieces I’d saved, and I stirred and stirred and stirred and stirred until it came down to 90, which takes 30–60 minutes in a sunny kitchen during a heat wave. I was sure I’d done everything right, but I had read that tempering chocolate doesn’t work in the heat. I turned my AC colder, put the Choco Pies in the fridge once the tops were coated, and hoped. They set quickly, a good sign. And they looked shiny. I was cautiously optimistic. But tempering had taken so long, it was now time for game night with our friends. I had to leave the sides for tomorrow.
So instead of tempering chocolate once, I did it twice. Out came the sous vide, I spent another hour stirring chocolate, and then I started coating again. I still wasn’t sure I’d nailed it, but I put the covered Choco Pies in the fridge for a few minutes and made BC try one. “Tell me if it’s tempered or not. It doesn’t really matter if it is, because I’m serving them tonight regardless, but I just want to know,” I babbled at him. I covered my eyes with my hands. I couldn’t watch.
He bit in … and I heard a crack. “WELL?” I demanded when he didn’t immediately respond. He grinned at me like a kid in a candy store.
And there it was. I’d won. I am now the Queen of Chocolate.
Spread the Snob
If you like this recipe, please recommend Confessions of a Cake Snob to someone you know! Follow me on Pinterest or Instagram for more ways to view and save the recipes. Please share this newsletter with a friend, comment on the website, or bake it and let me know how it went for you! Email me with comments, ideas, and suggestions at confessionsofacakesnob@substack.com.
This is awesome!