


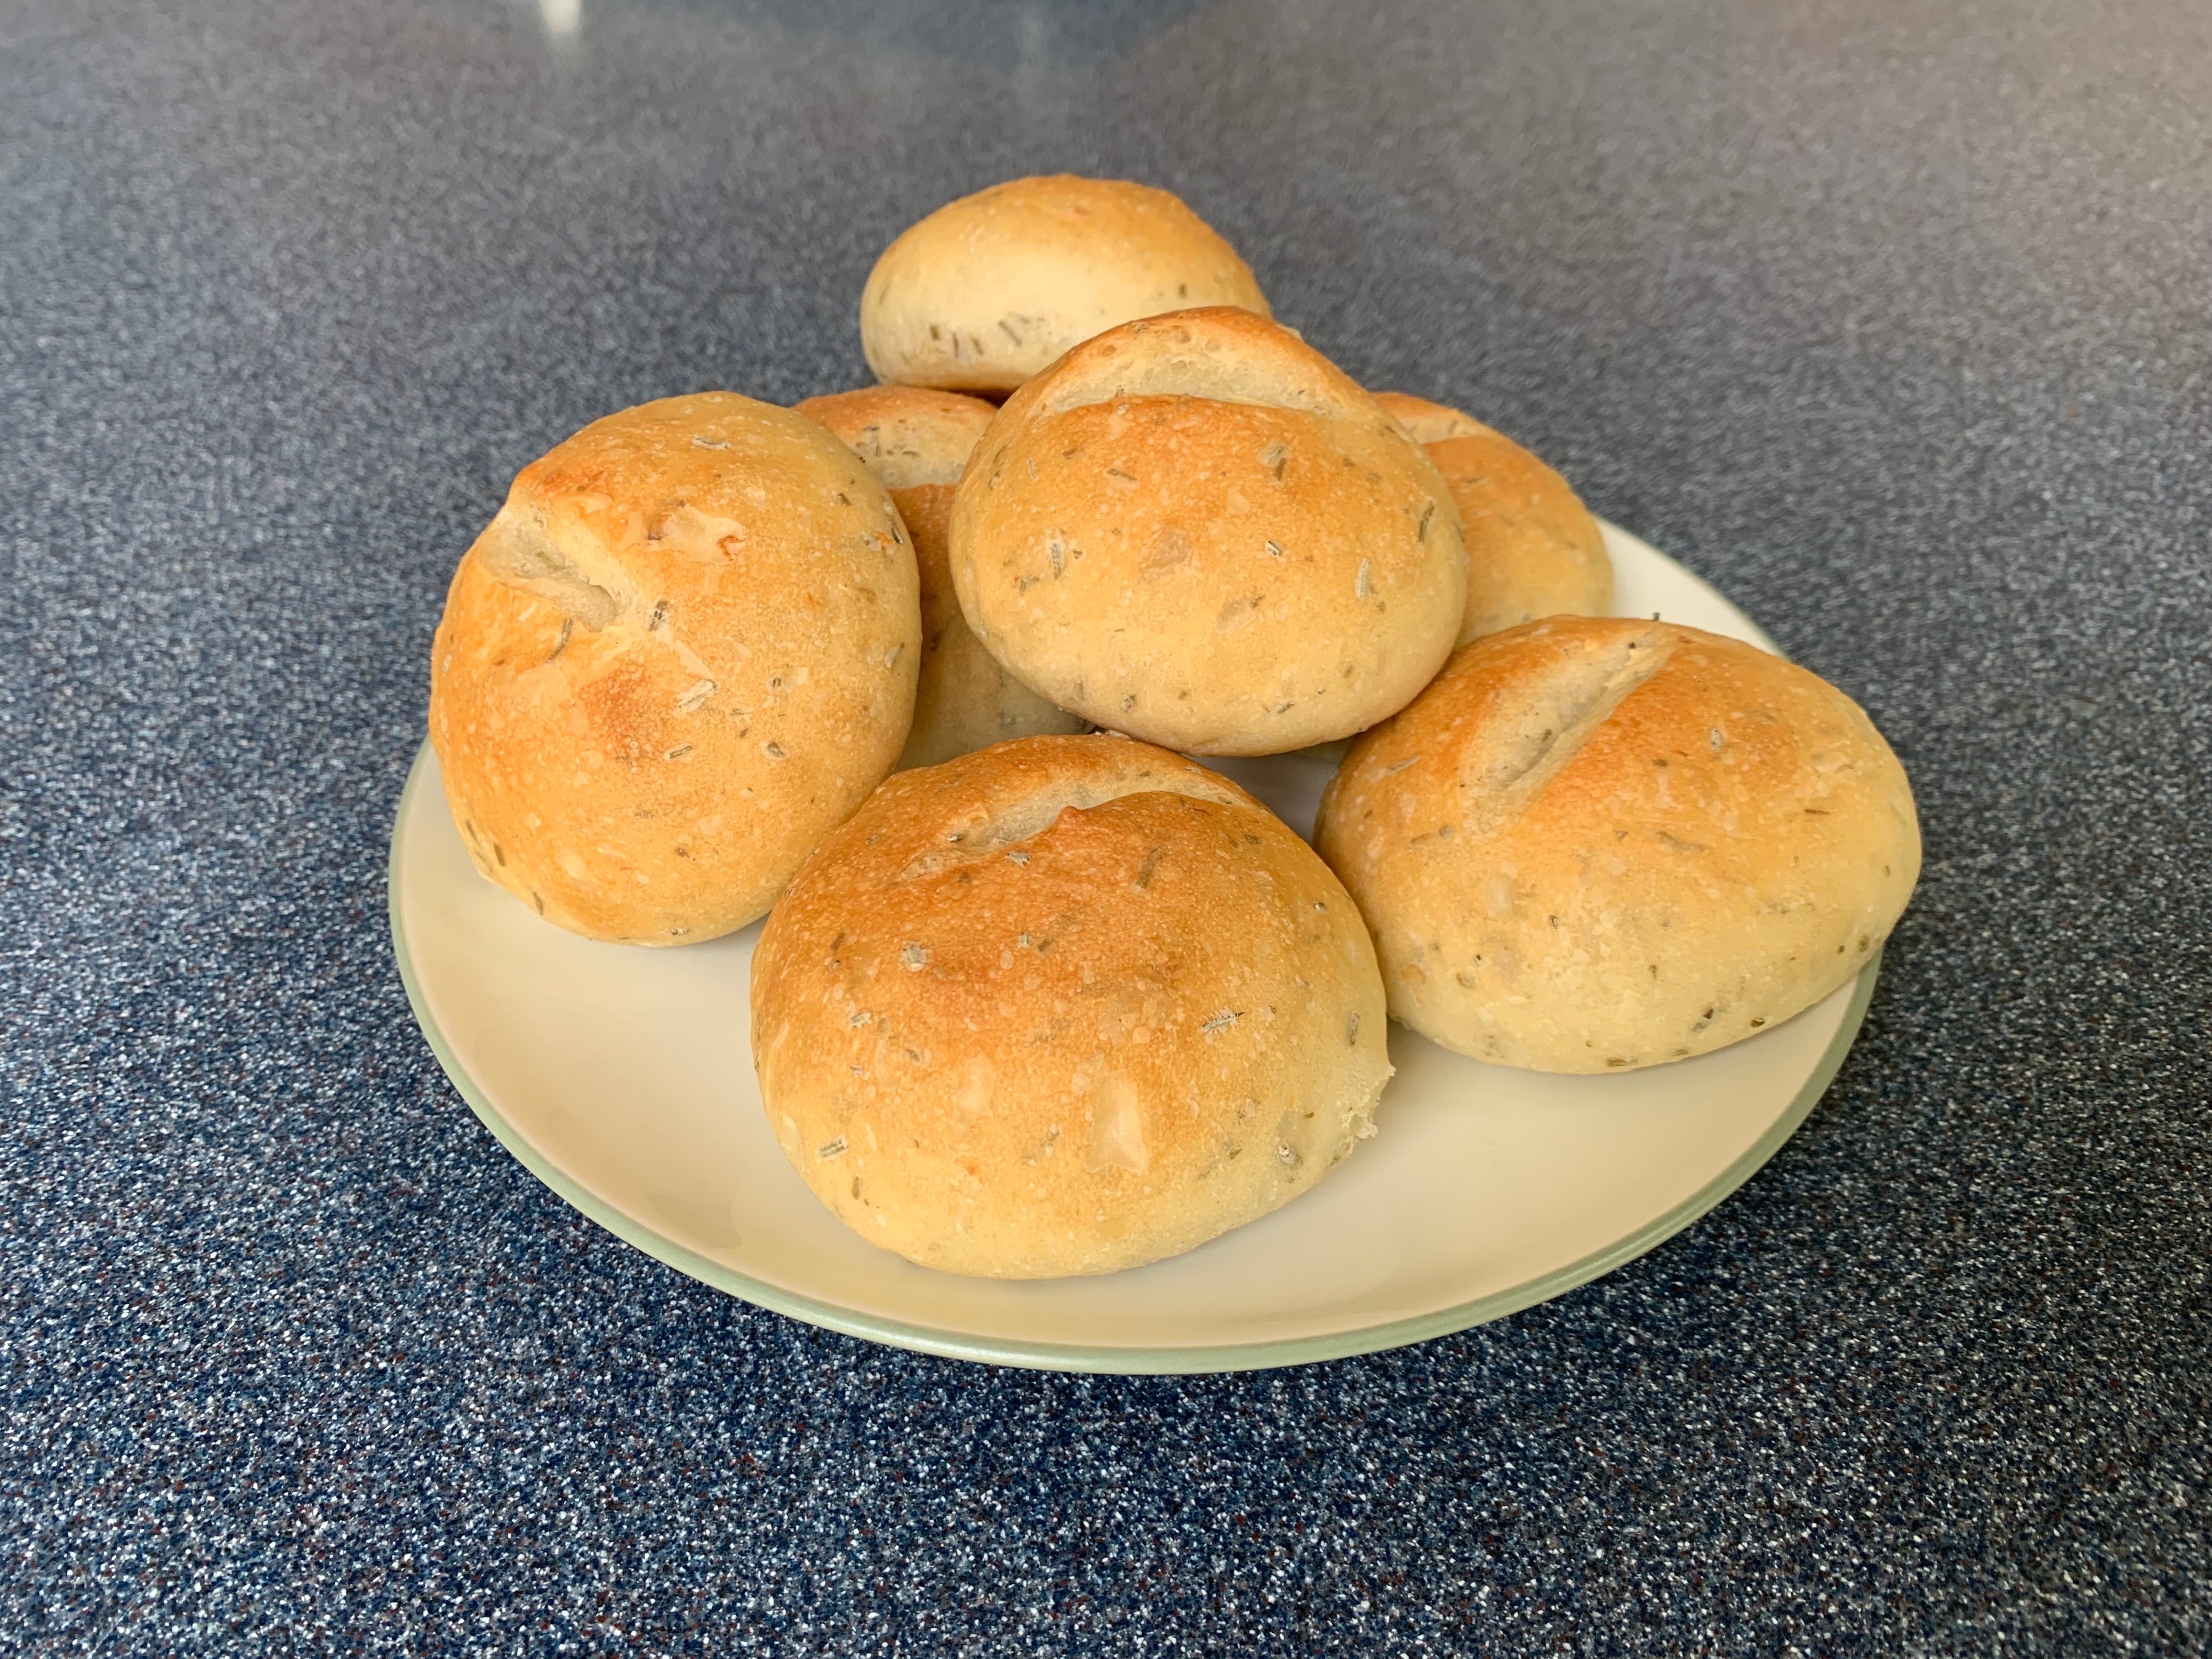
Crusty Garlic and Rosemary Rolls
Confession: I didn’t think it was possible to eat too much cake.
The recipe
Yield: 16 dinner rolls
Time: 3 hours
Ingredients
500 g (4 c) bread flour, plus extra for dusting
10–15 g (3–5 fat cloves) finely chopped or minced garlic
8 g (2 tbsp) finely chopped rosemary
10 g (2 ½ tsp) instant yeast
10 g (1 ½ tsp) salt
325 g (1 ⅓–1 ½ c) water
Olive oil
Instructions
1. Very lightly flour a surface for kneading. Measure out the flour, garlic, and rosemary into a large bowl. Add the salt to one side of the bowl and the yeast to the other side. Add the water and mix with a spatula or your hands until the dough comes together. If you’re using volume measures for the water, it should be between 1 ⅓ and 1 ½ cups.
2. Once the dough comes together, knead it on your counter for 5–10 minutes, until the dough becomes very soft and smooth and silky. Place the dough in an oiled bowl, cover it, and let it rise in a warm spot in your kitchen for about an hour, or until the dough is doubled in size. The doubled size is the important thing to look for; the time is an estimate of how long that will take.
3. Very lightly flour your counter and prep a baking sheet by laying a sheet of parchment paper on it.
4. Once the dough is doubled in size, turn it out onto your floured counter and knock most of the air out of it. Gently stretch it into a rectangular shape.
5. Coat a sharp knife with a little oil. Use this knife to cut your rectangle into 16 small pieces of dough.
6. Form the rolls by pinching the four corners of the dough underneath itself once to form a little ball. Then place the ball seam-side down on an unfloured spot on your counter, cup your hand over in, and roll it in little circles until it forms a ball shape. Place the balls of dough on the parchment.
7. Cover the baking sheet with a plastic bag (I use old grocery bags) and leave it in a warm spot to rise, about an hour. You will know when they are done by using the poke test. Poke your dough gently with a finger. The dough should slowly spring back halfway after you poke it, and your finger should leave an indentation in the dough. If it does and it also looks puffy and larger in size (about doubled), it’s ready to bake. If the dough springs back quickly and your finger leaves no to little indentation, leave it to rise longer. If the dough springs back very slowly or not at all, it rose for too long, so bake it immediately.
8. About halfway into the second rise, adjust the racks in your oven. One should be in the middle, and one should be on the lowest spot. Preheat your oven to 425°F, set a metal sheet tray or a large cast iron pan on the bottom rack, and boil some water in a kettle.
9. When the rolls have fully risen, score the tops of them with a sharp knife. I cut a small slit in the tops of mine.
10. Place the rolls on the middle rack of the oven. Using a large oven mitt to shield your arm from the steam, pour the boiling water onto your sheet tray on the bottom rack. There should be enough water that it covers the bottom of the tray, but it doesn’t need to be a deep layer.
11. Bake the rolls until they are a deep golden brown on top, about 15–20 minutes. Remove them from the oven and cool on a wire rack.
Notes and tips
I recommend weighing your ingredients for this recipe if you have a kitchen scale. The amount of water I used is precise, and it should give you delicious, soft bread made from a dough that is easy to work with because it isn’t too sticky.
I use Fleischmann’s Bread Machine Instant Yeast. It’s not the same as active-dry yeast, but it’s easier to work with because you don’t need to proof it with water before you bake with it. You can just dump and go.
Use the smaller amount of garlic (10 g) if you want your rolls to have a milder flavor, and use the full amount (15 g) if you want them to taste like garlic bread in dinner roll form!
Adding the salt to one side of the bowl and the yeast to the other keeps the salt from killing the yeast, which it could do if it came into direct contact with it.
Rising time will vary greatly based on the temperature of your kitchen. The timings are for a kitchen about 75–78°F, but if your kitchen is warmer, expect the rises to take less time, and they will be longer if your kitchen is cooler. Use the other metrics, like the poke test and seeing if your bread has doubled to know when to shape and bake your rolls.
The steam in the oven helps create the crustiness of the rolls, so don’t skip this step. Make sure you wear oven mitts to protect your arms from the steam created when the water hits the hot pan, and pre-boil it so that it doesn’t cool down your oven when you pour the water in, and so that there’s less of a temperature difference for your sheet pan.
The rolls may take longer to brown than mine did. If that’s the case for you, you can let them bake for longer than I call for without them drying out. Bread is more forgiving of a overbaking than underbaking, which is quite different from cake.
Please eat these rolls the day you bake them or freeze them as soon as they have fully cooled! Homemade bread has no preservatives in it, so it goes stale quickly. (I am also snobby about stale bread; I hate it.) To revive frozen rolls, heat them in a 425°F oven until they’re warm on the inside, about 5 to 10 minutes. However, if you’re not going to eat all of the rolls the day you make them and don’t wish to freeze them, put them in a plastic bag to keep them fresh. And if your rolls do go stale by sitting on the counter (even in a bag) for a day or two, toast them or warm them in the oven for a few minutes before enjoying. This will get them as close to their freshly-baked texture as possible.
The story
After developing two cake recipes in a row, I couldn’t eat anything sweet anymore (I know, I’m shocked, too!), so here’s my first savory recipe for you.
I wanted a nice crust on these rolls (well, more accurately, my husband did because he’s obsessed with crunchy things). The one thing that usually makes a nice crust on bread is having a dough that’s very wet and sticky (think ciabatta or baguettes). Also a professional oven that injects steam as it bakes. But I didn’t want a very sticky dough this time. I wanted rolls that could be made by hand by a beginner since my other recipes are on the more difficult side. And because I assume that neither of us has a professional oven nor a sticky dough, we’re creating some DIY steam in this recipe, which will help you out every time you want a thicker, crunchier crust on your bread. I know, steam sounds counter-intuitive to creating a crustier crust, but it works like magic!
And one last thing: a huge thank-you to Felix Yiu who recipe-tested these for me!
Spread the love
If you like this recipe, please recommend Confessions of a Cake Snob to someone you know! Also feel free to share this newsletter with a friend, comment on the website, or bake it and let me know how it went for you! Email me with comments, things you’d like to see, and suggestions at confessionsofacakesnob@substack.com. I’m excited to hear from you!