


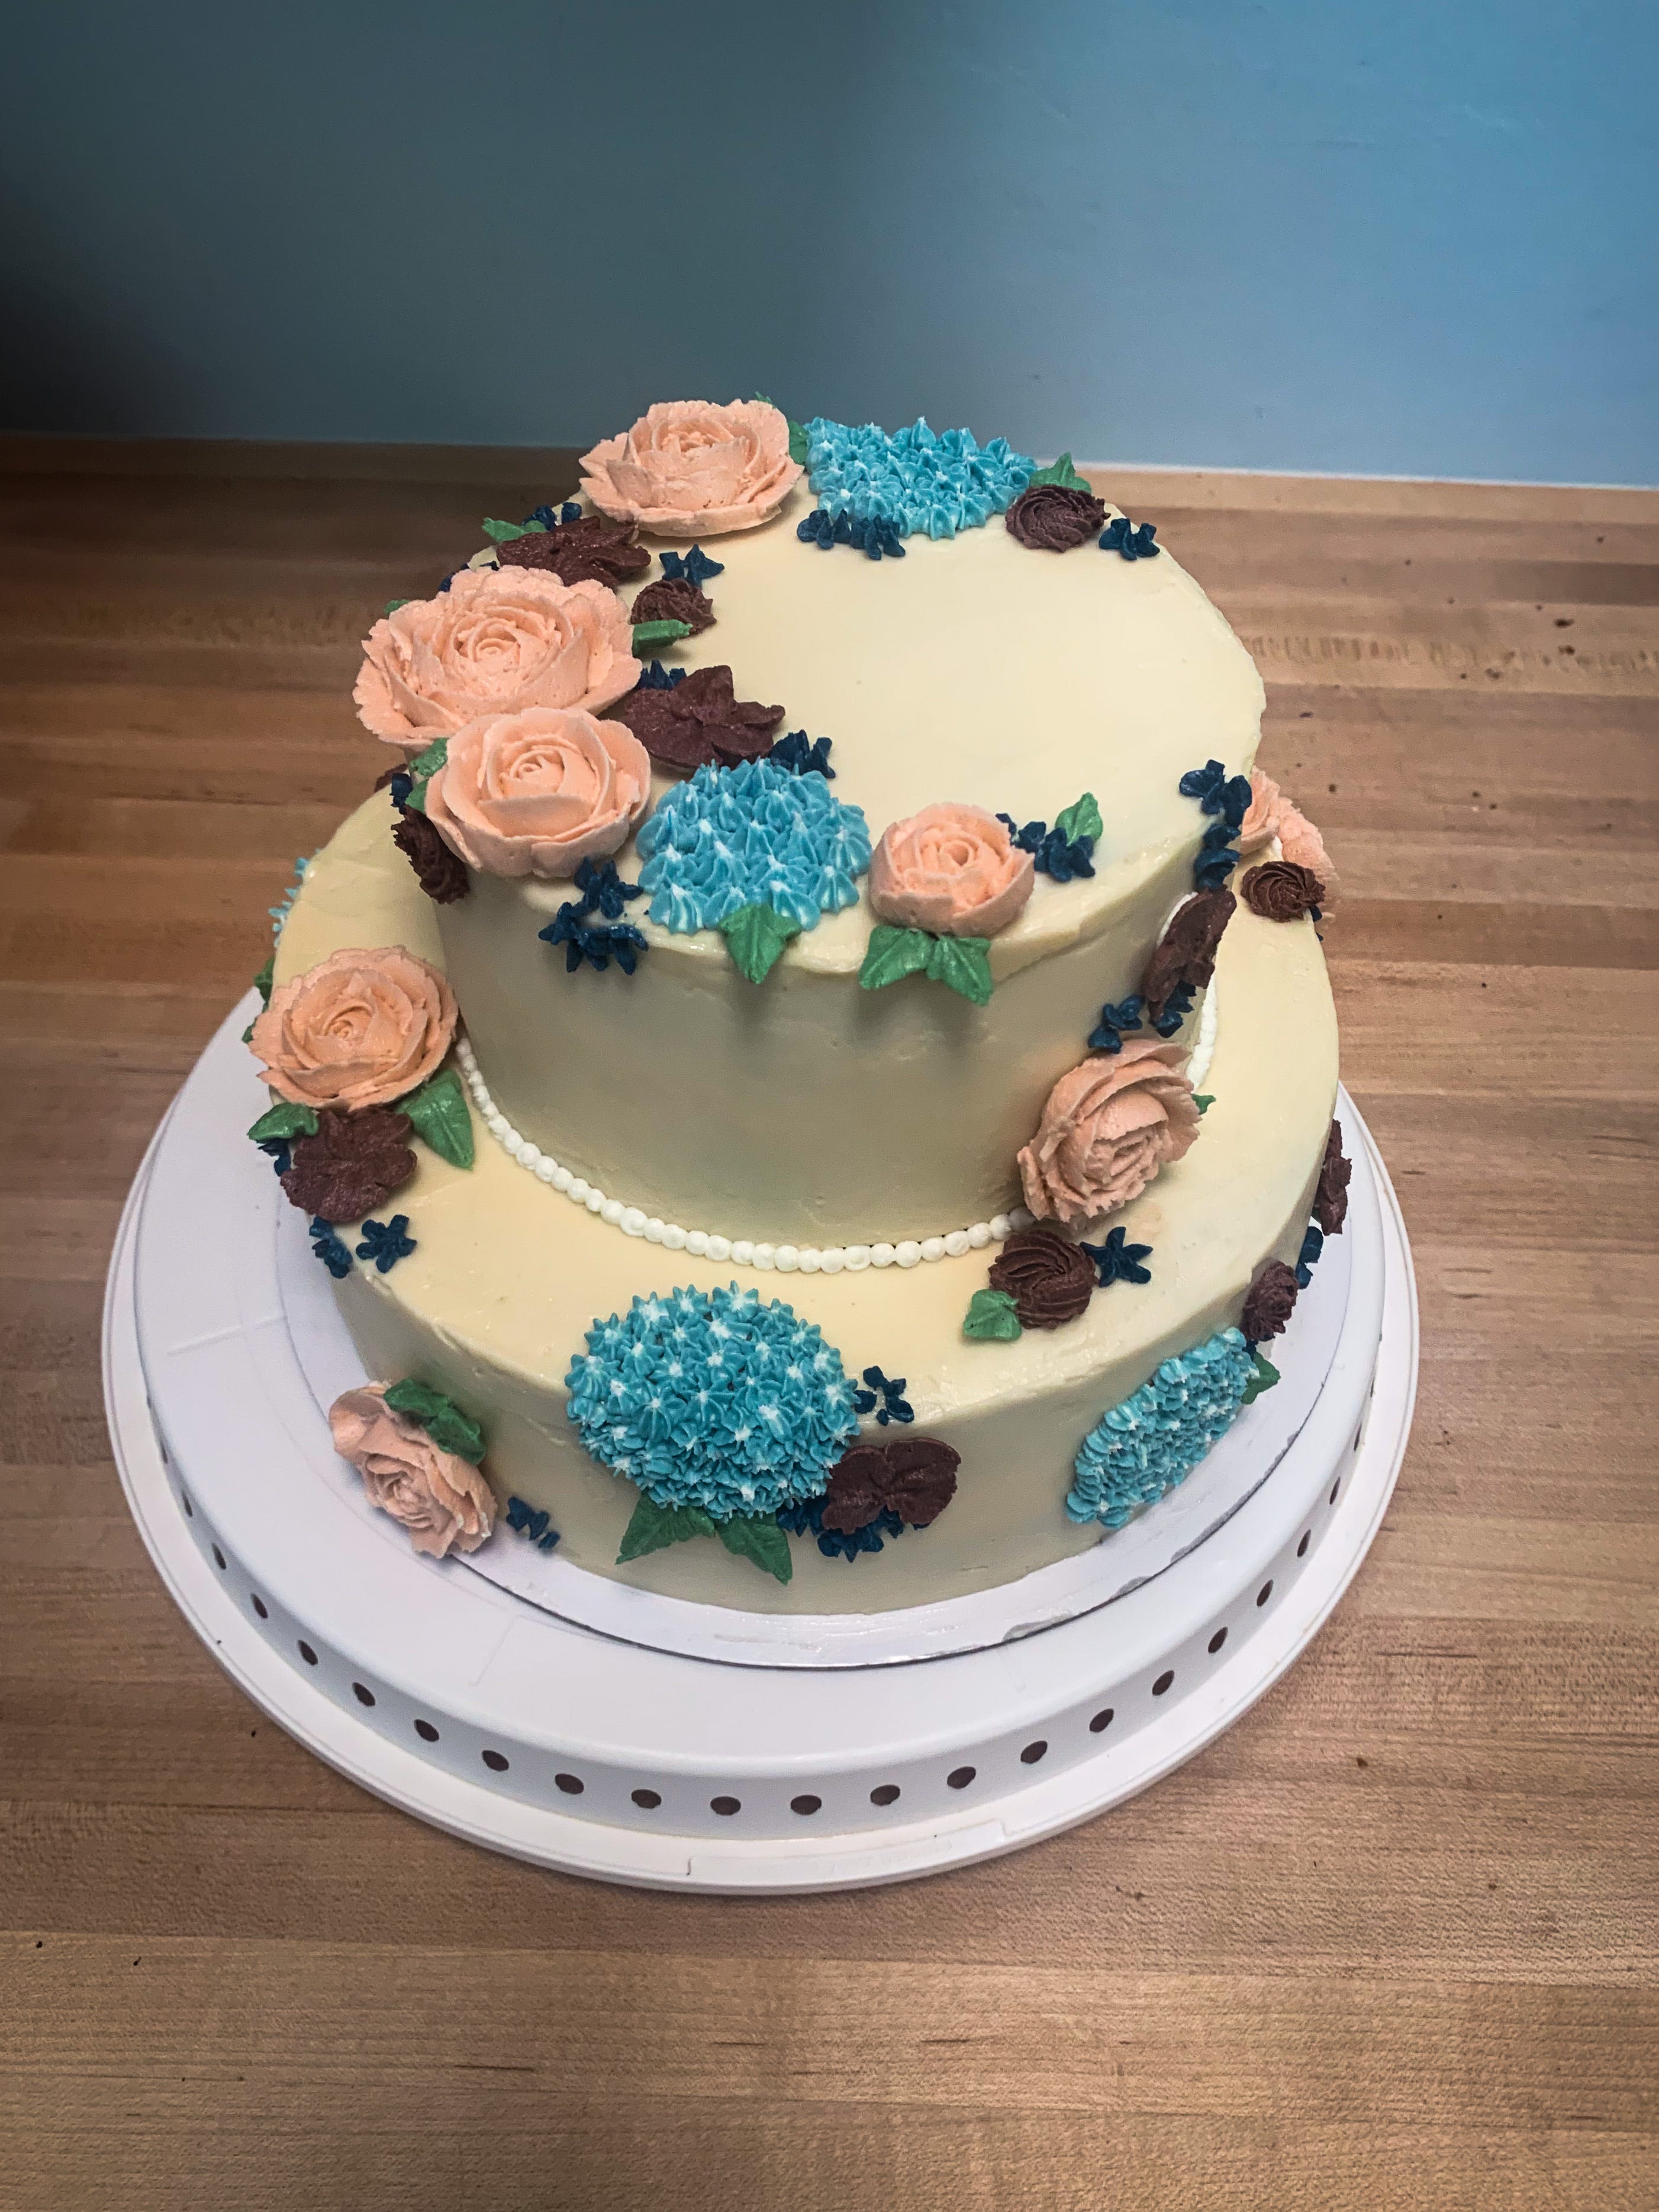
Chocolate Raspberry Wedding Cake
I’ve never had so many things go wrong in a single week before.
Note: This recipe isn’t for beginners, but if you happen to want to make a two-tiered wedding cake, I’ll walk you through everything from baking to assembly to how to pipe a buttercream rose.
The recipe
Yield: 20–30 servings
Time: about 8 hours (I didn’t count)
Ingredients
Cake:
3 c (636 g) sugar
2 and ½ c (330 g) flour
1 and ⅛ c (120 g) cocoa
2 and ¼ tsp (10.5 g) baking powder
2 and ¼ tsp (13.5 g) baking soda
1 and ½ tsp (13.5 g) salt
3 eggs
¾ c (180 g) vegetable oil
3 tsp (18 g) vanilla extract
2 and ½ c (630 g) boiling water
Mousse:
2 tsp (6 g) gelatin
2 tsp (10 g) water
18 oz (510 g or 3 and ¾ c) frozen raspberries, thawed
6 tbsp (75 g) sugar
1 and ½ c (345 g) heavy or whipping cream
Frosting:
1 and ½ batches of frosting from my Perfect Vanilla Frosting
1 batch of buttercream frosting (I used a Wilton recipe)
Decorating and assembly:
Cake dowels or smoothie/bubble tea straws
9-inch and 6-inch cake boards
Frosting bags
Piping tips (I used Wilton tips 5, 103, 18, 225, and 69)
Gel frosting coloring
Parchment paper
Instructions
Cake:
1. Preheat your oven to 350°F. Line two 9-inch cake pans and one 6-inch cake pan with parchment paper and grease the sides.
2. Whisk dry ingredients together in a large bowl until well combined.
3. Add eggs, oil, and vanilla and whisk until well combined.
4. Add the boiling water and whisk until well combined.
5. Divide the cake batter into three equal portions and pour one portion into each cake pan.
6. Bake the cakes for 30–35 minutes. I use two tests for doneness: 1.) insert a toothpick into the center, and a few cooked crumbs should cling to it; 2.) the cakes should spring back slowly when you lightly press their centers.
7. Let the cakes cool in their pans for 10 minutes, then turn them out onto parchment paper-lined wire racks to cool completely.
Mousse:
1. Mix the gelatin with the water and set aside for 10 minutes to hydrate.
2. Heat the raspberries in the microwave until they are warm, about 30 seconds.
3. Purée the raspberries and their juice in a food processor or blender until smooth.
4. Strain the purée through a sieve and discard the seeds. Add the sugar to the purée and stir until dissolved.
5. Melt the gelatin in the microwave until liquid, about 15 seconds.
6. Add the gelatin to the purée, stirring well to combine. Set aside to cool to about 80°F in the fridge or on the counter.
7. When the purée has cooled, whip the cream in a mixer fitted with the whisk attachment. Whip on medium speed until the mixture forms soft peaks (when you take the whisk out of the bowl, it should form a little peak and the top will flop over on itself).
8. Gently fold the cream into the raspberry mixture with a spatula until there are no streaks remaining and the mixture looks uniform.
9. Chill the mousse in the fridge until it has set, at least 3 hours and up to a few days before filling the cakes.
Frosting:
1. Make the buttercream frosting for piping flowers. Divide it into two roughly ½-cup portions and four roughly ¼-cup portions.
2. Color the frosting. The 2 large portions should be rose and sky blue. The 4 smaller portions should be burgundy, navy, green, and white.
3. Cover the bowls of buttercream with plastic wrap and set aside until ready to decorate.
4. Make the perfect vanilla frosting, cover, and set aside until ready to assemble.
Assembly:
1. Level the cakes. Do this by gently cutting the domed top off each cake with a large serrated knife and setting it aside.
2. Place one of the 9-inch cakes on the center of a cake board and set the cake board on a turntable.
3. Pipe a border of perfect vanilla frosting around the top edge of the cake.
4. Spoon the raspberry mousse onto the cake, then spread it to the edges of the frosting border with an offset spatula. Spread it gently so that you don’t lose the air in the mousse. You want your mousse layer to be about ¾-inch thick.
5. Place the second 9-inch cake on top of the first.
6. Crumb coat the cake layer and then refrigerate until the frosting feels firm to the touch, about 20 minutes.
7. While the cake is chilling, cut a small hole in the middle of a 6-inch cake board that is large enough for a dowel/straw to go through.
8. Cut the 6-inch cake in half so it forms two layers. Place the bottom half on the 6-inch cake board with the hole and place that cake board on a turntable. Repeat steps 3–6 with the small cake.
9. Place the small cake layer in the fridge to firm up, about 20 minutes.
10. Once the large tier is firm, spread another, thicker layer of vanilla frosting around the sides and top. To get it as smooth as possible, use a bench scraper on the last pass around the sides. Smooth the sides first, then gently smooth the top with an offset spatula.
11. Repeat the second coat with the small cake tier. The cake board should no longer be visible. If it is, make the layer of frosting thicker.
12. Refrigerate the cakes again until firm, then use an offset spatula to gently smooth out any rough patches of frosting. Place a level on top of the cake to ensure that it’s flat. If not, add frosting to the uneven side and chill again.
13. Using an extra 6-inch cake board, center it on your 9-inch cake. Using a toothpick, lightly trace a circle around the cake board and then remove it.
14. Take one of your straws and press it into the center of your 9-inch cake, all the way to the bottom. Make a mark where the straw is level with the top of the frosting. Cut the straw to that length, and using that straw as a guide, cut 5 other straws to the same height. Cut a final straw a few inches longer than the rest of them. (This straw will go through the middle of both tiers.)
15. Insert the tall straw in the center of the large cake and smaller straws around that one, making sure they are all within the circle you traced.
16. Spread a little bit of buttercream frosting on top of the 9-inch cake to stick the smaller tier in place.
17. Using a large offset spatula and your hands, gently lift the 6-inch cake and lower it onto the large straw in the center of the 9-inch cake. Gently settle this tier on top of the lower tier.
18. Pipe a border of small white ball/pearl shapes (Wilton tip 5) around the bottom edge of the top tier to cover the spot where the tiers meet.
19. Decorate the cake: Using Wilton tip 103, pipe roses on pieces of parchment paper and freeze them on a sheet tray until firm. Then use a small squeeze of buttercream to anchor them to the cake. You should be able to pick them up gently with your fingers while they’re frozen.
20. Paint the outer edges of a frosting bag with blue frosting using an offset spatula, then fill the center with white. Using tip 18, pipe star shapes in clusters to look like hydrangea heads.
21. Using tip 103, make 5-petal burgundy flowers on a flower nail and parchment paper and freeze them. Once they are firm, use a small amount of buttercream to anchor them to the cake.
22. Swap out the tip on your burgundy frosting bag to # 18 and pipe little swirly rosettes all over the cake.
23. Using the navy frosting and tip 225, pipe drop flowers all over the cake.
24. Using tip 69, pipe green leaves on the cake.
25. Keep the cake in the fridge until ready to serve. You don’t have to cover the cake in the fridge as long as your fridge doesn’t have anything smelly in it. (I’m looking at you, kimchi!)
Notes and tips
If you want to make a normal-sized layer cake, scale everything in the recipe down by ⅔.
I split this cake over two days. On the first day, I baked the cakes, made the mousse, and made the buttercream frosting and colored it. On the second day, I made the perfect vanilla frosting, assembled, and decorated. Just make sure the cakes and colored frosting are covered overnight so they don’t dry out or get crusty. You can cover the cakes with their pans once they are cool.
Fold the whipped cream by gently running your spatula around the edge of the bowl and folding into the middle. Then use your spatula to cut through the middle of the mixture and lift up and fold onto the top. Repeat until the mixture looks uniform. It will take longer to mix, but this method keeps as much air in the mousse as possible.
I prefer to use gel frosting coloring instead of liquid drops, which can curdle a frosting if you need an intense shade, like burgundy or navy.
When coloring your frosting, keep in mind that it will darken as it sits, so dye it a few shades lighter than you need.
I don’t have the space to give a buttercream flower tutorial, so here are the links to the YouTube videos I found helpful: roses, burgundy flowers, hydrangeas, drop flowers, rosettes, and leaves.
The bride and groom loved how tart the raspberry mousse was (it was perfect for a warm summer wedding), but if you want yours a little sweeter, add a few extra tablespoons of sugar to the raspberry puree and taste before adding the gelatin.
The story
Everything started well. The couple, Abigail and James, asked for a “dark as sin” chocolate cake. I was excited to develop a chocolate cake since the Perfect, Easy Vanilla Cake turned out so well. Everything went smoothly at the tasting. The cake was great, not perfect, but a little more liquid would counteract the dryness. The raspberry mousse had great flavor; all it needed was a little less gelatin and I’d have nailed that, too.
Then, the Saturday before the wedding, I got sick. I had high hopes of getting better quickly, but I got sicker with each passing day. Anxiety set in. I needed to start baking this cake on Wednesday to get it done on time. And I was lonely. BC was away on a work trip and I was isolating so I didn’t spread the illness. It was the middle of an awful heat wave that sent temperatures into the mid-nineties for two weeks straight. But it wasn’t until Tuesday night, when my fever still raged and my AC broke, that I lost it and vented my anger. “God, why are you doing this to me? I could deal with being sick for a few days, but I can’t take my AC being broken on top of it all! I don’t have the energy to find a contractor, and if this cake is going to be done by Friday, you have to heal me now! I can’t do it all in one day.”
The next morning, I realized the plumbers we liked did HVAC, too. They said they’d come on Friday. And my fever broke. I could ask my friends David and Catherine to borrow their oven on Thursday afternoon since I’d be 24 hours fever-free at that point.
But the cakes turned out absolutely flat. I went home in tears, wondering what had gone wrong now. It seemed like the whole world was conspiring against this wedding cake. I double-checked the recipe and saw I’d measured my baking powder and soda incorrectly. I tramped back over to David and Catherine’s with all my stuff a second time that day and answered their kids’ questions about why I was back so soon with all the grace I could muster. The cakes rose well this time.
But my tribulations continued. The HVAC company needed to order a part for my air, and I didn’t have a backup plan for decorating this cake. I was about to call all my neighbors in a frenzy and ask who was willing to have me (masked up but still coughing) take over their kitchen for an entire day while I decorated this wedding cake. Before I could, Catherine and David invited me over again if I wouldn’t mind their kids popping in and out of the kitchen all afternoon. I gratefully accepted. David even closed the blinds and turned the AC colder to keep the frosting from melting.
I needed to deliver the cake before my grandfather’s 80th birthday party that evening, so I frosted in a frenzy. Nothing like a deadline to force perfectionism out of me. Pretty good had to be good enough when 3 pm rolled around. I was stressed out, but I didn’t dare show it in front of the kids (at least not if I could help it) and it was fun to have the three of them watch intently while I piped and they asked endless questions about when I was going to put the flowers on the cake, what kinds of flowers they were, and why there were two cakes. I asked them not to bump the table, and I smiled. I sounded just like my mom. She would create beautiful, elaborate cakes for me and my siblings every year for our birthdays. We watched, enchanted, while she worked, and she had to repeatedly ask us not to bump the table in our excitement.
I got the cake settled in the groom’s fridge and heaved a huge sigh of relief. When I paused to catch my breath on the drive to the party (I would arrive a little late), I realized that God had answered my angry prayer on every point and then some. I’d healed just enough, just in time. The AC was still broken, but being around my friends was so much better for me than staying home alone with the stress would have been. And everything was done. I felt grateful for how much God cared about this wedding cake. It certainly wasn’t important in the cosmic scope of things, but it mattered to me, and therefore it mattered to him as well. I knew I was very loved.
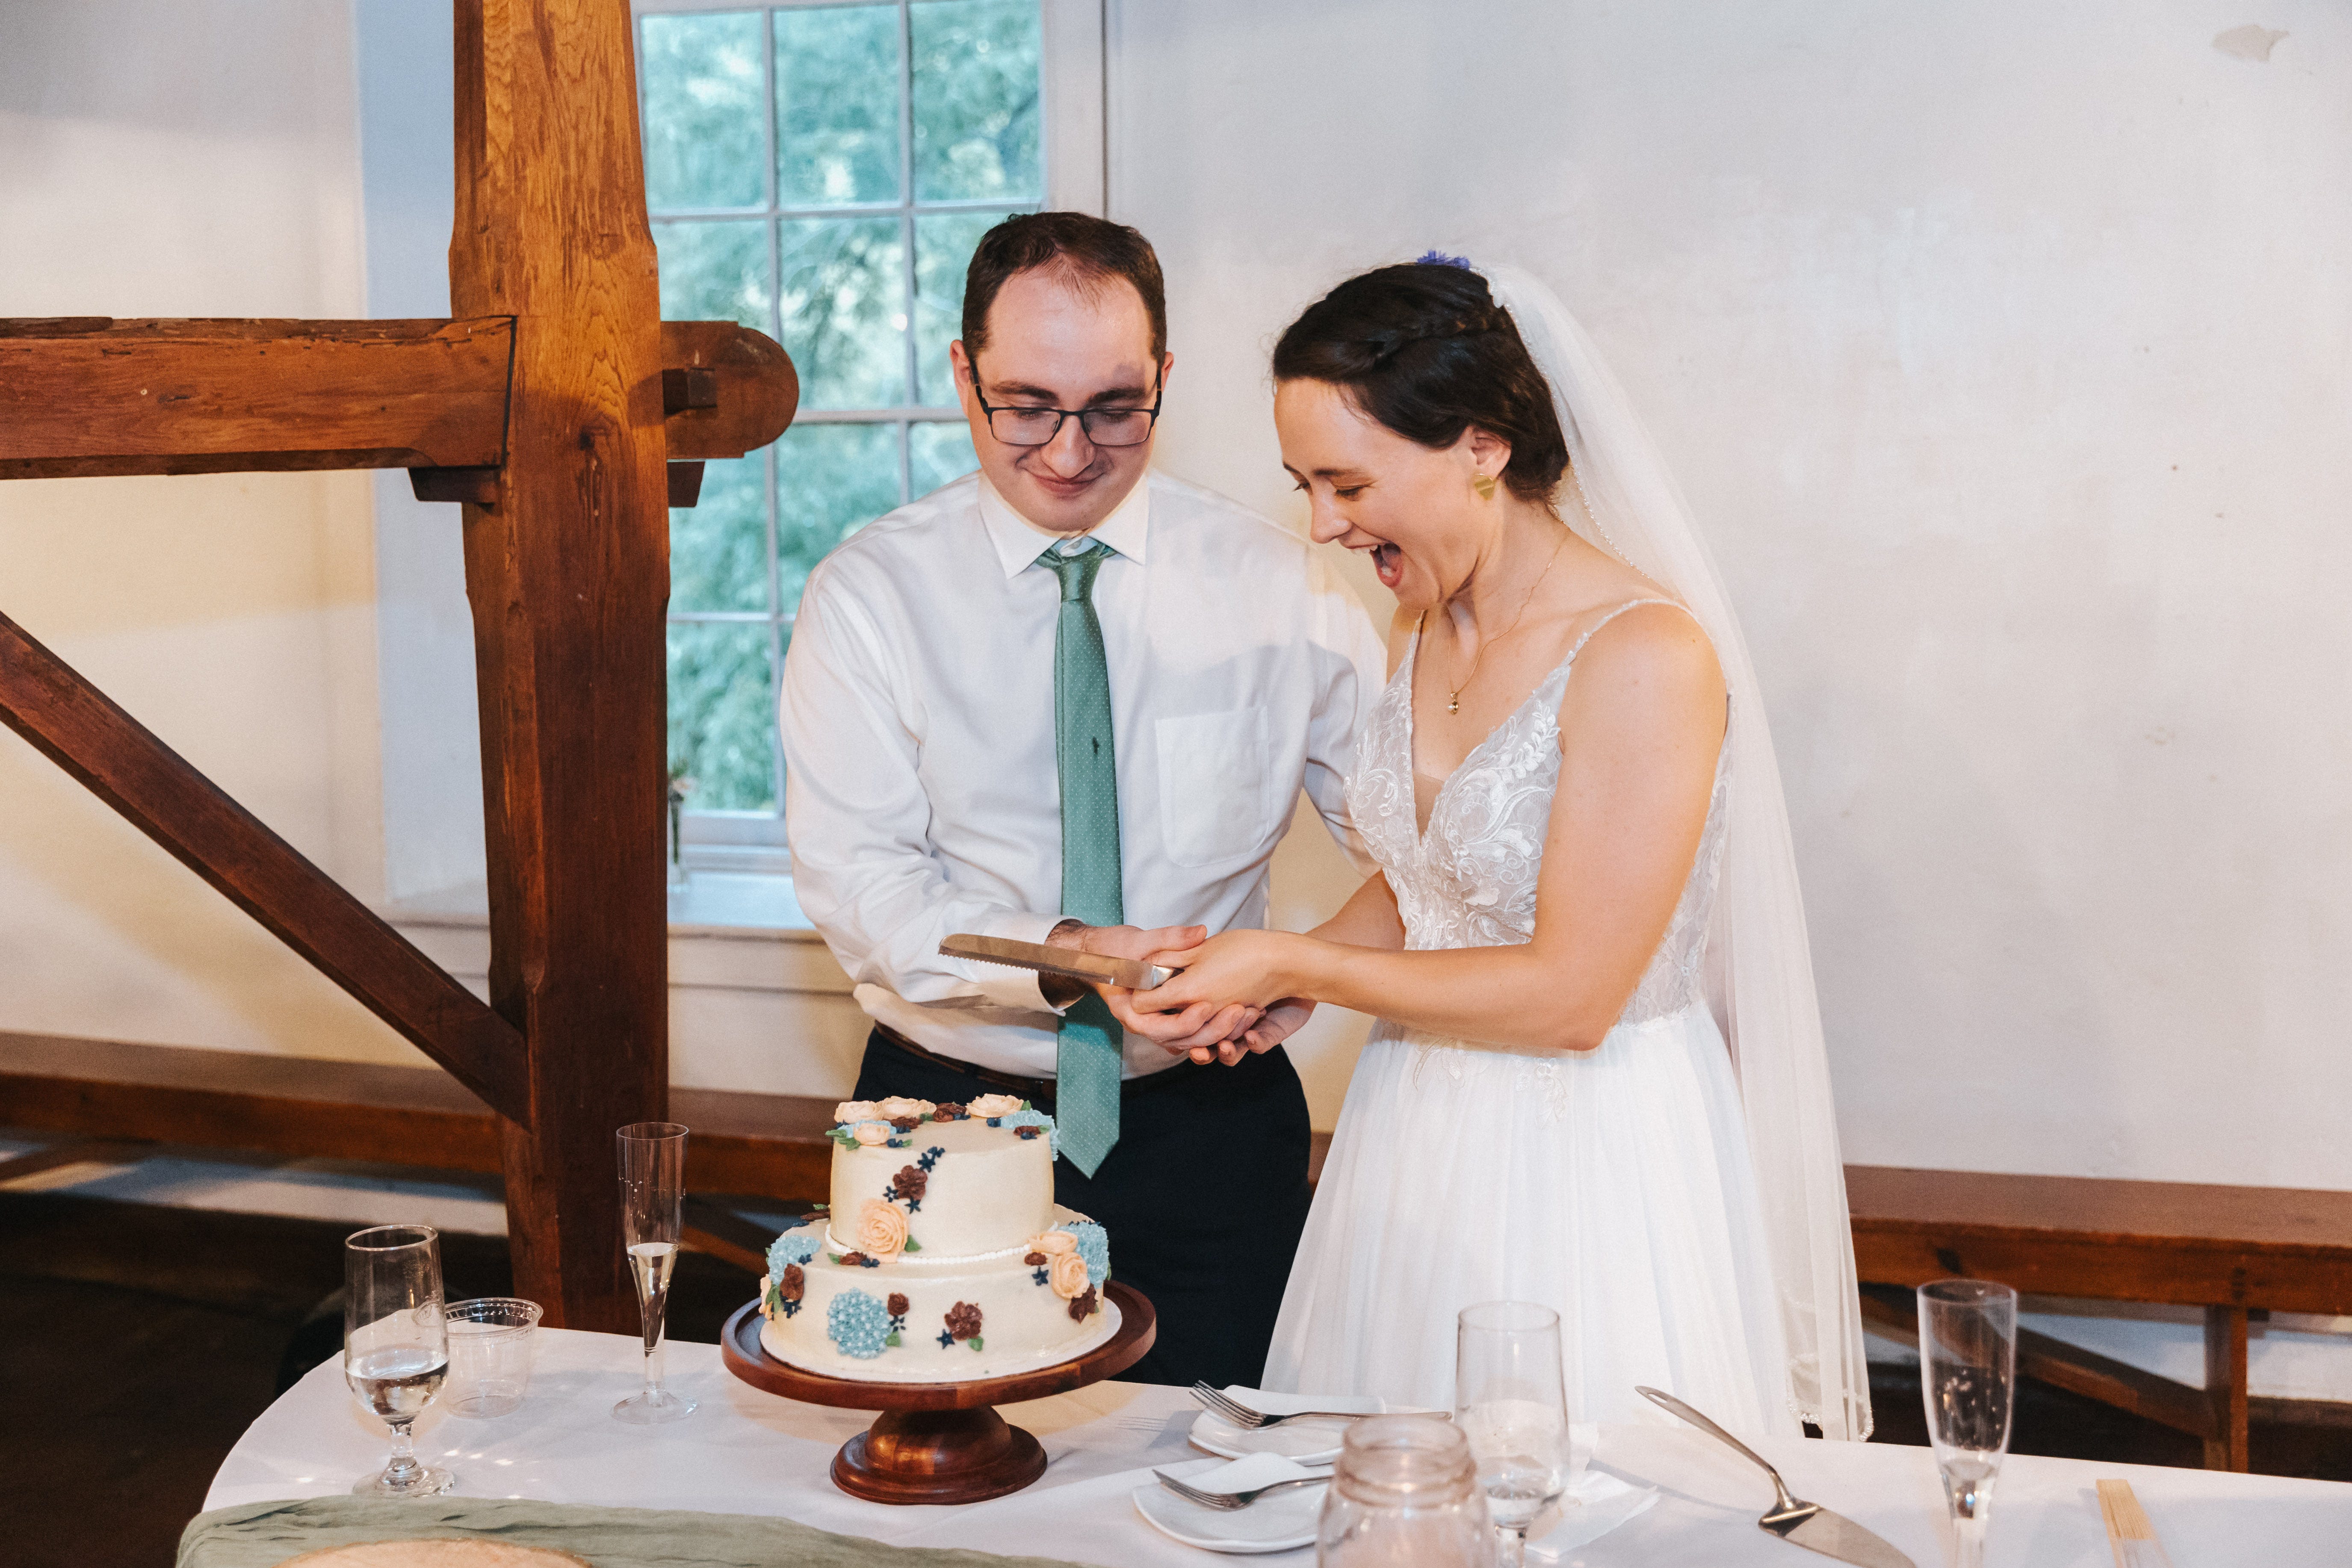
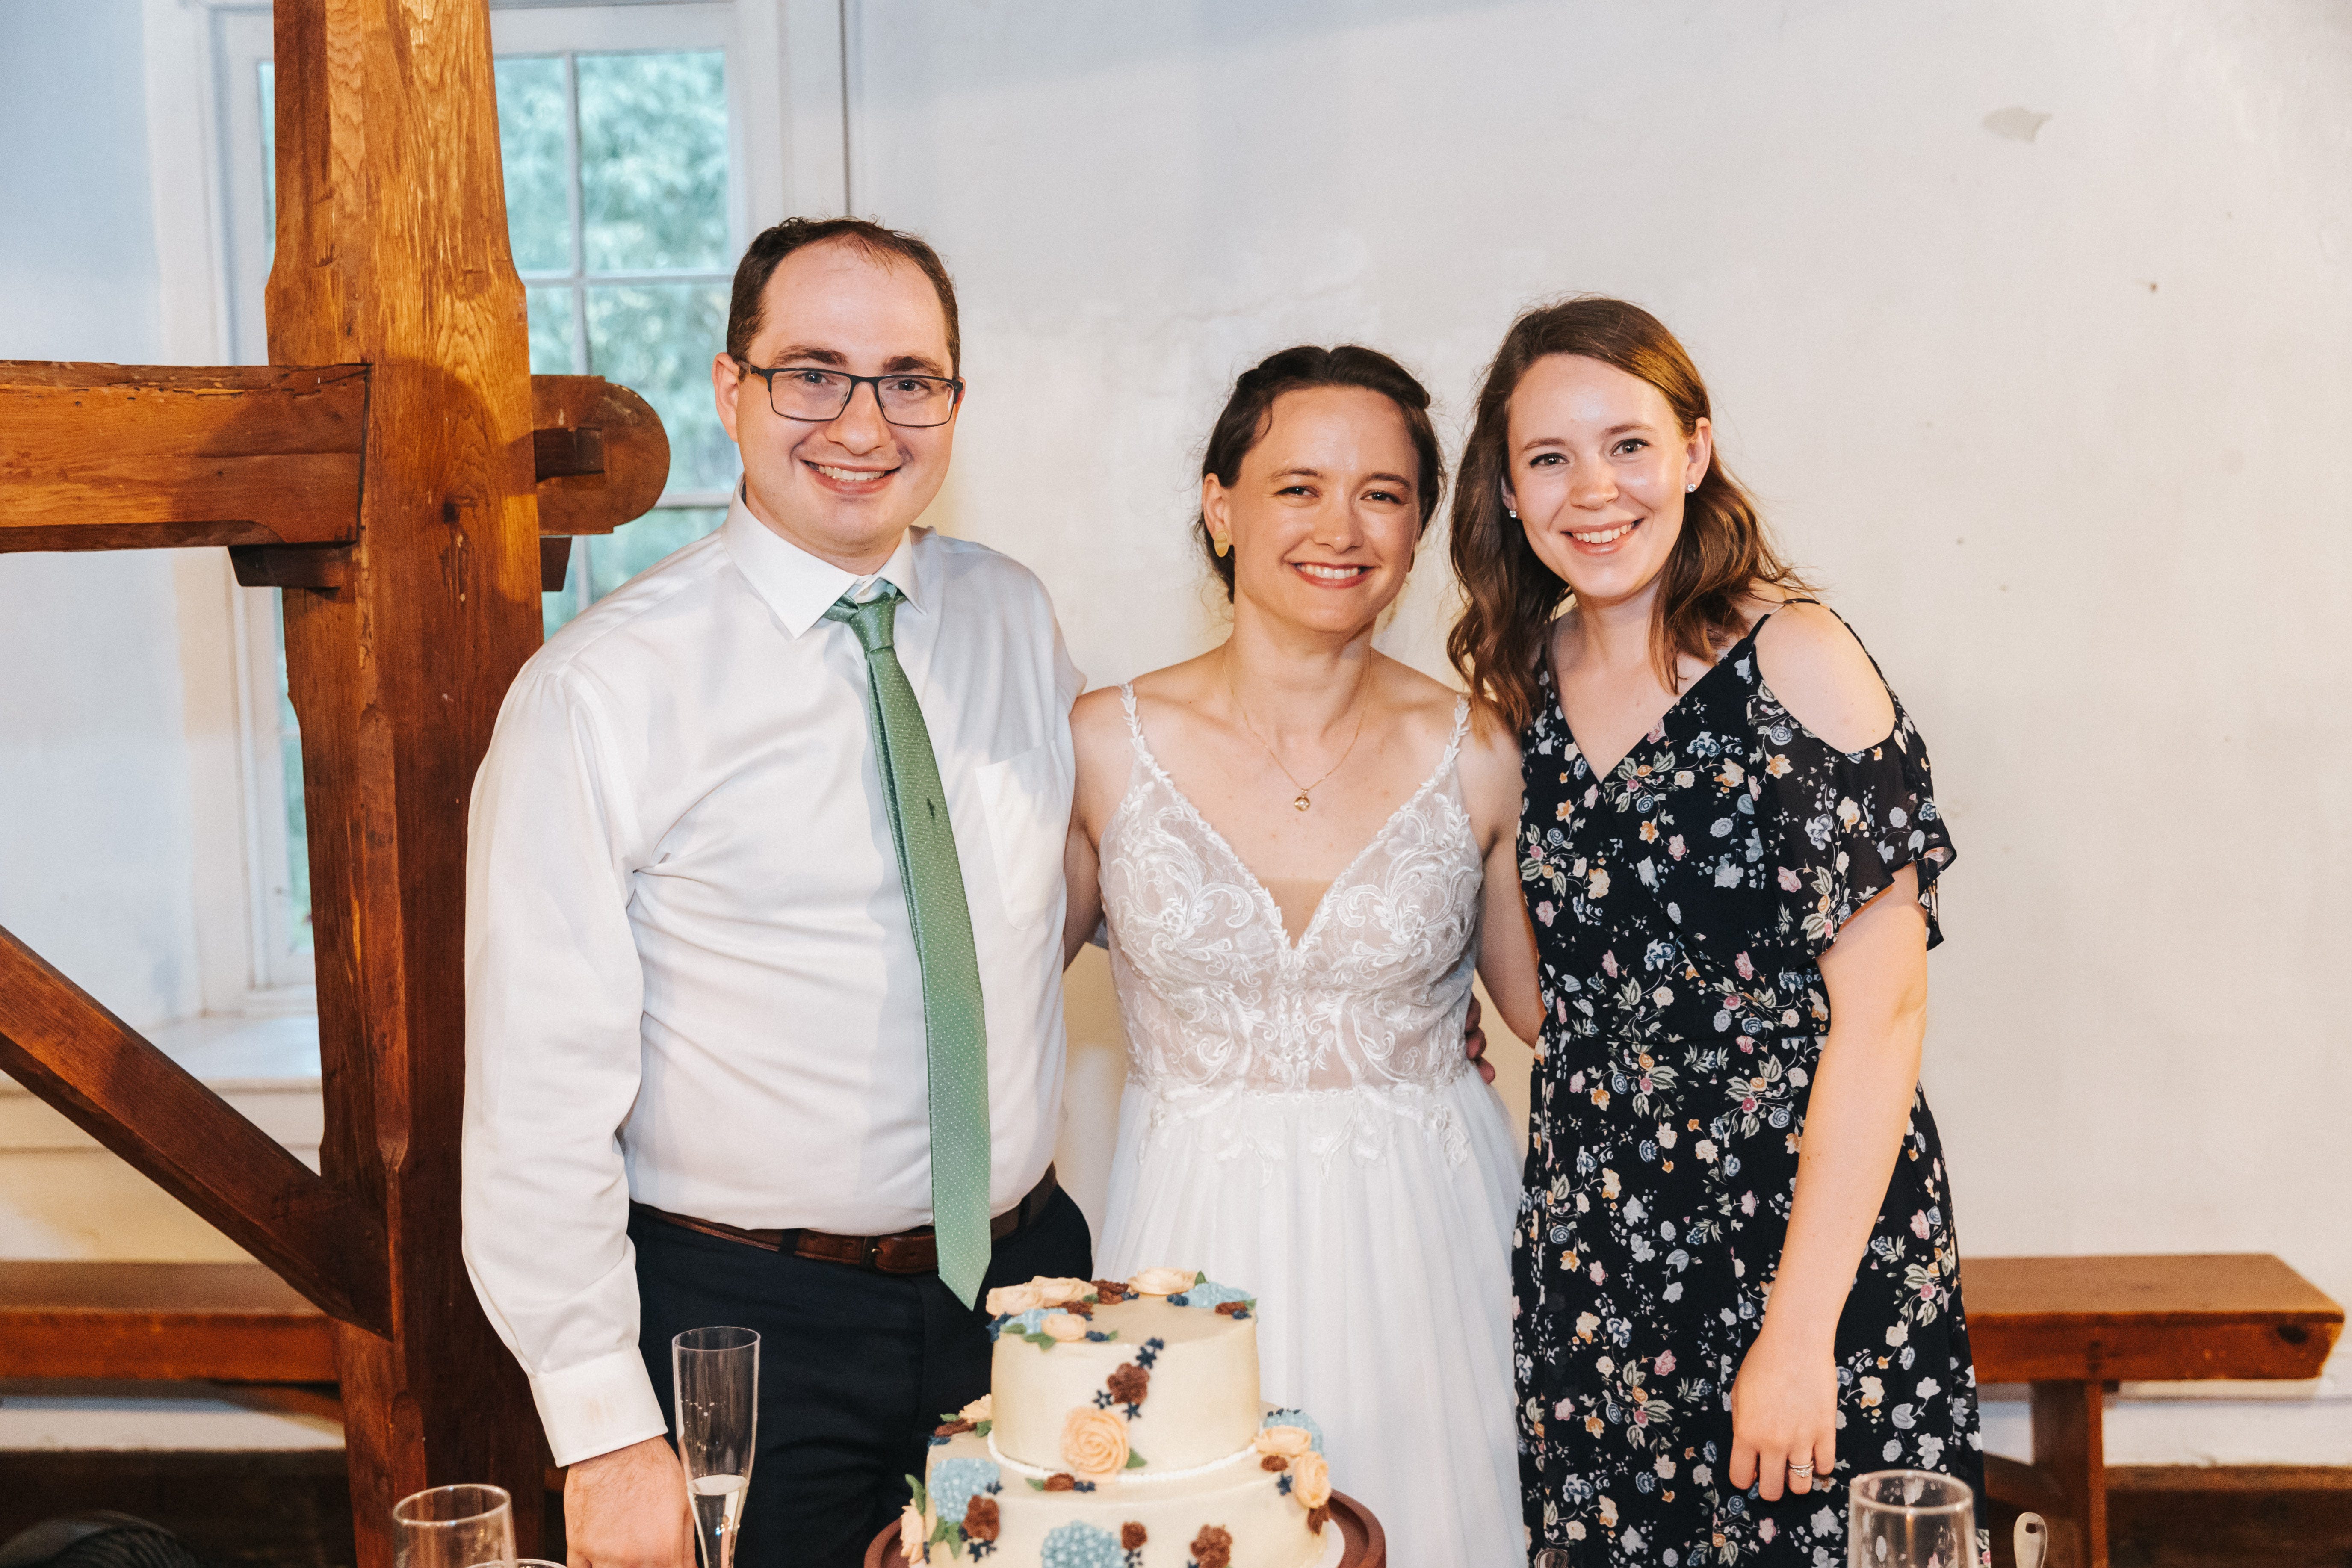
The wedding was beautiful, and seeing my dear friends grinning goofily at each other the whole day made every difficulty worth it. They even asked me to take a picture with them before they cut the cake. Let me tell you—for a baker, it doesn’t get better than that.
Spread the Snob
Please recommend Confessions of a Cake Snob to someone you know! Follow me on Pinterest or Instagram for more ways to view and save the recipes. Please share this newsletter with a friend, comment on the website, or bake it and let me know how it went for you! Email me with comments, ideas, and suggestions at confessionsofacakesnob@substack.com.
This saga really made me tear up, and your ode to the Lord’s goodness was so warm on my ears 💕