


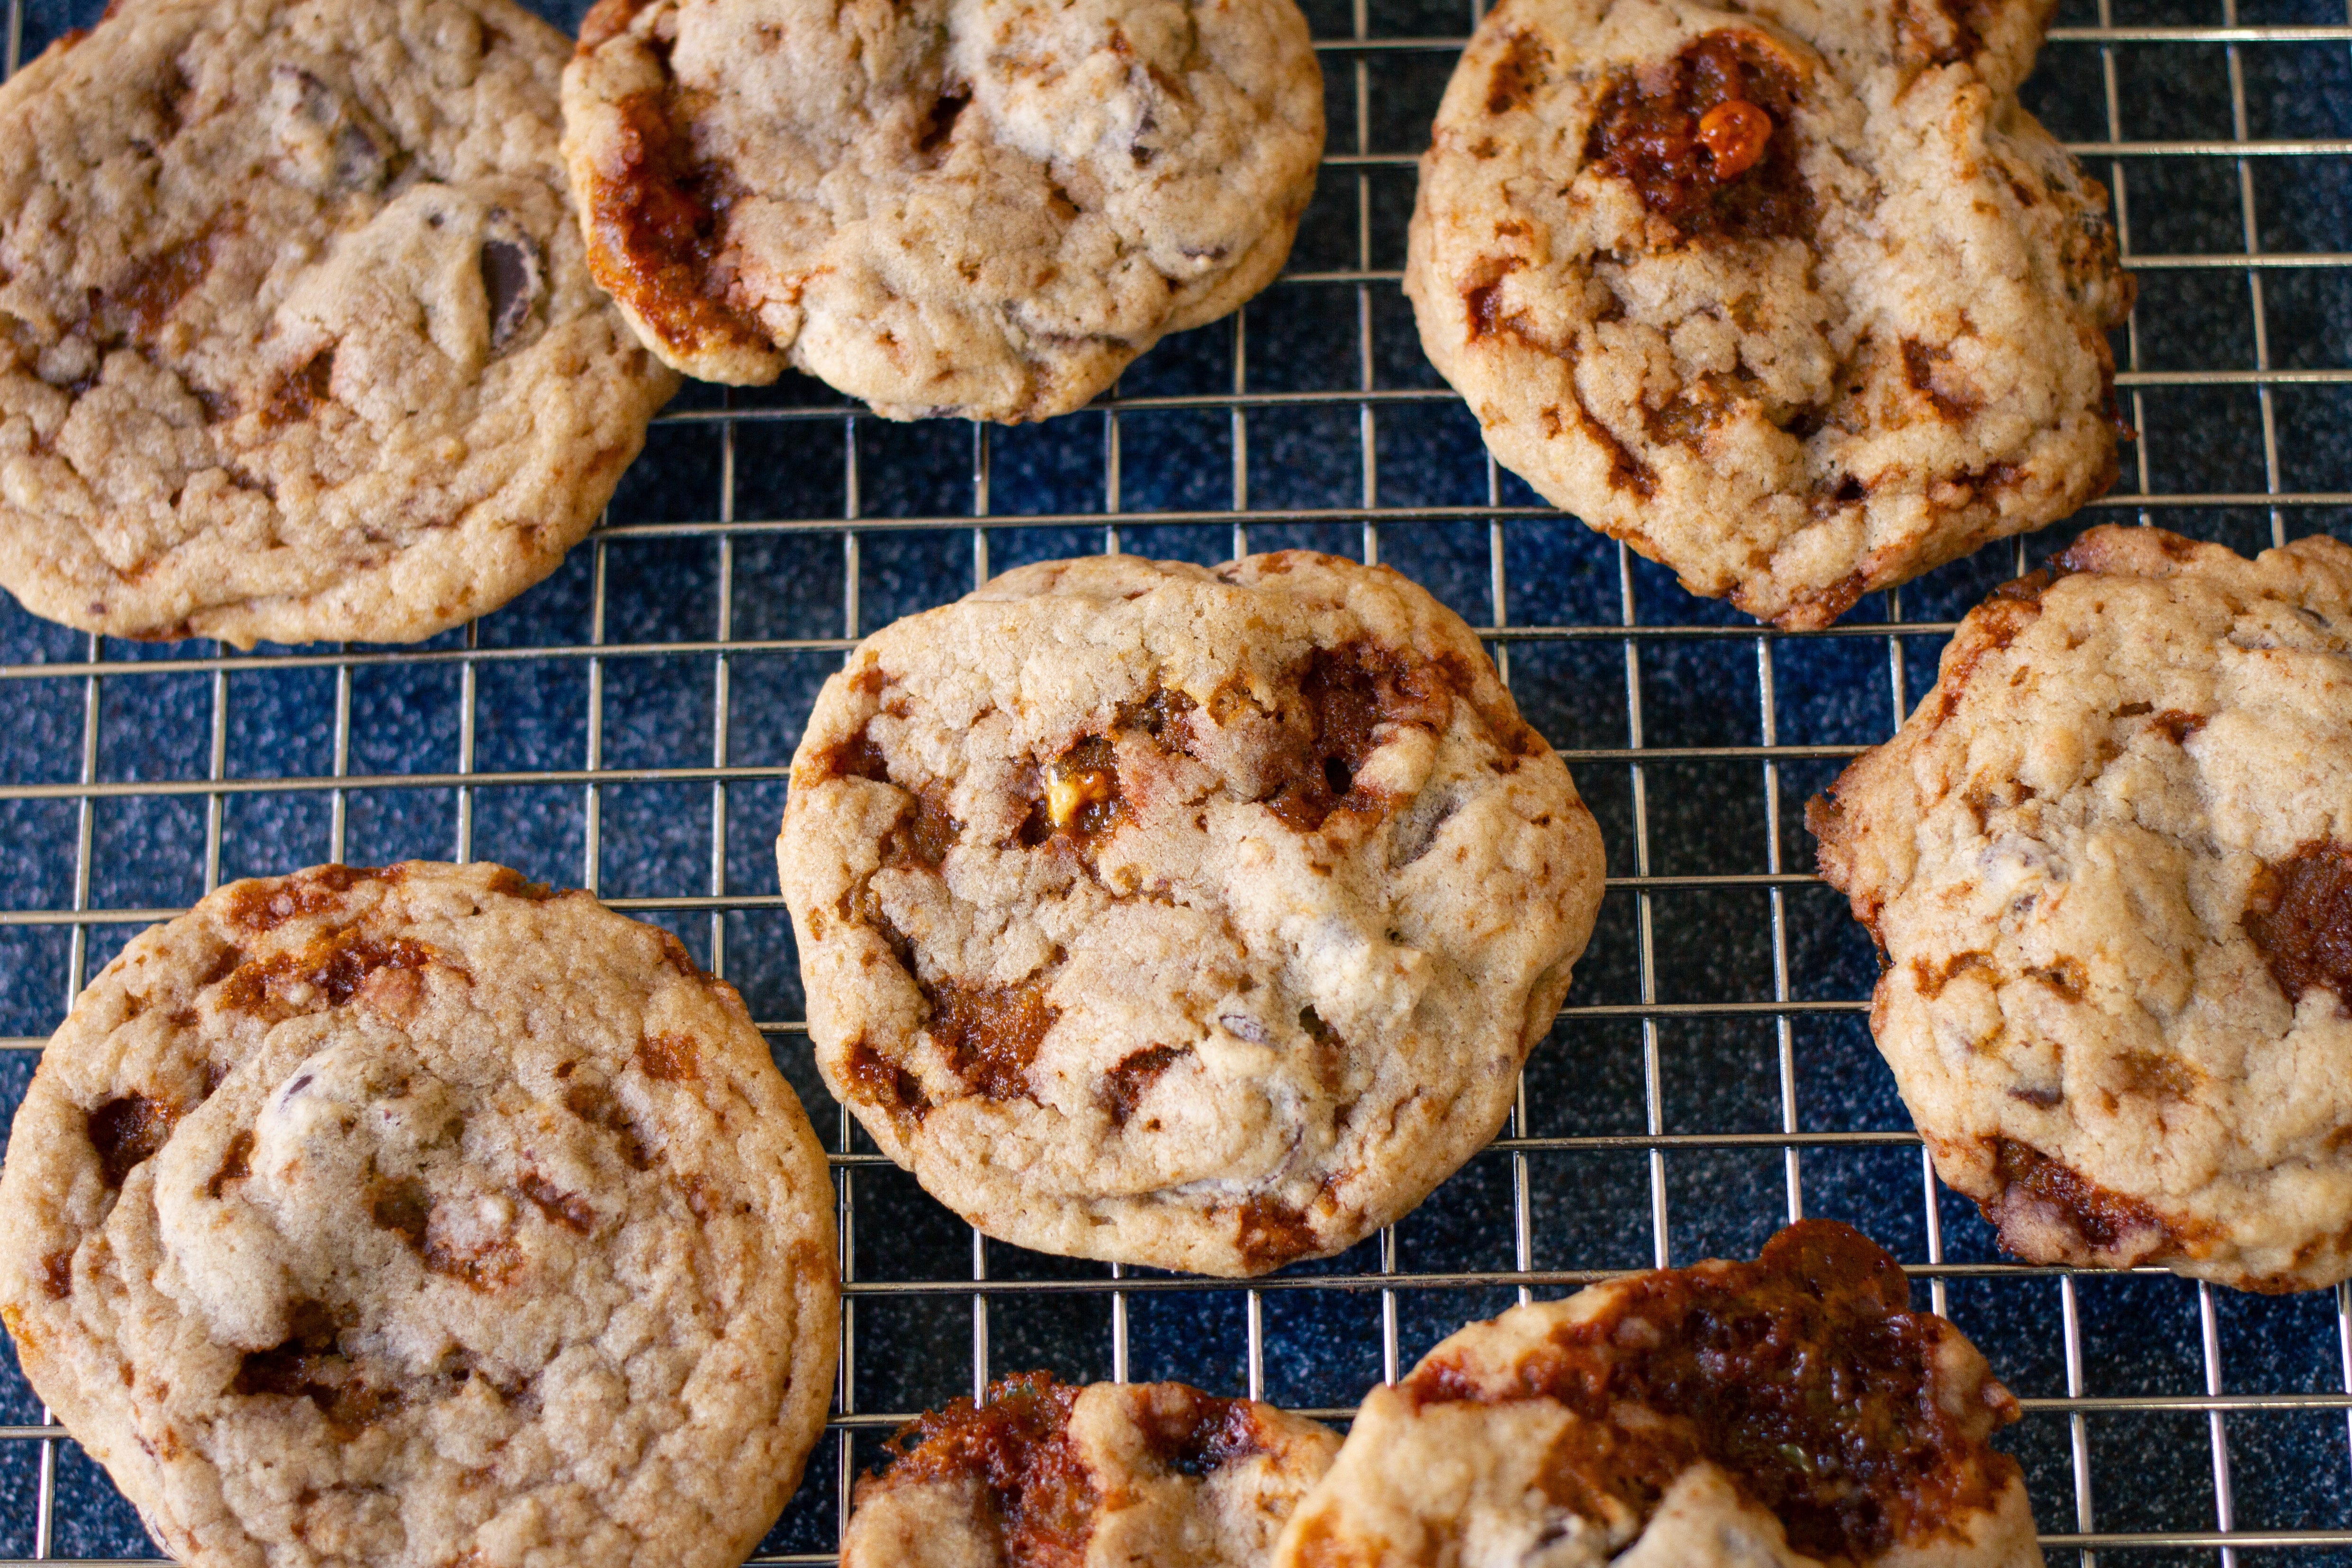
Chocolate Chip and Crunchy Caramel Cookies
These cookies didn’t work out like I’d hoped.
The recipe
Yield: 3 and ½ dozen cookies
Time: 1 and ½ hours
Ingredients
Hokey Pokey (caramel honeycomb):
¼ c (55 g) sugar
2 tbsp (36 g) corn syrup
½ tsp baking soda
Cookies:
3 and ⅓ c (416 g) flour
1 tsp salt
1 tsp baking soda
2 sticks salted butter, at room temperature
¾ c (165 g) sugar
¾ c (165 g) light brown sugar
2 tsp (14 g) vanilla extract
2 eggs
2 c (283 g or 10 oz) chopped semisweet chocolate or chocolate disks
Flaky sea salt for sprinkling (optional)
Instructions
Hokey Pokey:
1. Stir the sugar and corn syrup together in a small pot. Measure out your baking soda, get out a small pan lined with parchment paper or Silpat, and have a whisk nearby.
2. Cook the sugar mixture over medium heat and continue stirring until it begins to boil.
3. When the sugar mixture begins to take on a golden color in the center, immediately take the pot off the heat. (See the second process photo.)
4. Add the baking soda and whisk vigorously until incorporated (it will foam up a lot), about 15 seconds.
5. Immediately transfer the hokey pokey to your baking sheet and set aside until completely cool, about 20 minutes.
Cookies:
1. Preheat your oven to 350°F and line 2 cookie sheets with parchment paper.
2. Place the flour, salt, and baking soda in a medium bowl and whisk until well-combined. Set aside.
3. Place the butter, sugars, and vanilla extract in the bowl of stand mixer fitted with the paddle attachment and beat on medium speed until light and fluffy, 3–5 minutes.
4. Add one egg at a time. Beat well on medium speed until each egg in incorporated before adding the next ingredient.
5. Add the flour in 3 additions. Mix on low just until the flour is combined before adding more.
6. Add the chocolate chips and mix on low speed until evenly incorporated.
7. Using your hands, break up the hokey pokey into small chunks and add it to the cookie dough. Mix on low speed until evenly incorporated.
8. Using a 2-tbsp cookie scoop, drop 8 cookies on each sheet, spacing them 3 inches apart. If you like your cookies less sweet like I do, sprinkle each dough ball with some flaky sea salt before baking.
9. Bake for 8–12 minutes, just until some start to turn golden brown around the edges, swapping racks halfway through. Leave the cookies on the baking sheets for 5 minutes, then transfer them to a wire rack to finish cooling.
Notes and tips
Hokey pokey is a New Zealand treat (known as honeycomb in the UK) and my husband loves it because it’s sweet and crunchy.
If you want to skip making the hokey pokey but still want the crunch, crush up 5.5 oz/155 g of hard caramel candies and add them to your dough instead.
For the tastiest cookies, chop up a bar of nice chocolate or use baking discs from a brand like Guittard. This recipe accounts for the extra spread you can expect when using real chocolate. If you do substitute chips, the cookies will be cakey.
Creaming your butter correctly (which means starting with it at actual room temperature) is the best thing you can do to make sure your cookies aren’t flat. The air incorporated into the butter during creaming helps them rise upward instead of spreading outward. This article from King Arthur Baking explains what room temperature butter actually means. As for creaming: you want your butter and sugar to get light and fluffy, with a lot of air in them, and you want them to be a few shades lighter in color than when you began mixing. (See photos 5–7 below.) Creaming takes 3–5 minutes in a stand mixer with the paddle attachment on medium speed.
Cookie recipes should be considered strong suggestions, not gospel. Every oven and cookie sheet is different, and what worked well for me won’t be perfect for you. Before you bake a whole sheet of them, bake a single test cookie by itself. After it’s cooled, if it looks very flat, add ¼ c of flour to the dough. If it didn’t spread enough, add 2 tbsp melted butter. Bake another test cookie and continue adjusting until they come out right.
Like any chocolate chip cookie, these keep their crisp edges and the crunch from the caramel only for the first day. They really are best straight from the oven. But there’s a simple solution to this problem: Freeze your cookie dough in balls on a cookie sheet lined with parchment, then transfer them to a plastic bag when completely frozen. When you’re ready for fresh cookies, take out as many as you want and bake them, no thawing required. Just add an extra minute or two to the bake time. (A huge thank-you to Catherine Kong, who introduced me to this method of making chocolate chip cookies. It has completely changed my life.)


The story
I asked BC, my husband, what cookies he wanted for Christmas this year. He thought long and hard, reading through my pages-long list of recipe ideas before deciding: a hokey pokey chocolate chip cookie. Hokey pokey, a New Zealand specialty, is candy made from caramelized sugar and baking soda. The baking soda reacts with the sugar, foaming up into a candy that hardens around a million little air bubbles and forms a honeycomb-like structure. That kind of delicate crunch in a chocolate chip cookie was intriguing.
Actually making hokey pokey wasn’t easy, no matter how breezy Nigella Lawson’s recipe was about it. Just “whisk in the baking soda and watch the syrup turn into a whooshing cloud of aerated pale gold,” she said. Mine turned into a cloud alright, but it was more of an amber color than pale gold, and I hoped to heaven that the burned smell was coming from the bits of sugar left in the the pot. When the brick of candy cooled enough to taste the edges, it was so terribly bitter I spit it out, tossed the entire batch, and started over. I burned it two more times before finally making something palatable.
When BC wandered into the kitchen, he said, “It smells just like hokey pokey!”
“You mean burned sugar?” I raised an eyebrow at him.
“Yeah, most people overdo the first batch.”
Now he tells me.
Hokey pokey complete, I started on the cookies. I thought everything would work out great if I substituted the walnuts in the Nestle Toll House recipe for broken-up pieces of hokey pokey. Not a chance. The cookies came out so flat they were more like chewy pancakes, and the hokey pokey didn’t retain its texture, either. Instead of the large pieces of golden, airy candy I was expecting, it had melted, pooled at the bottom of the cookies, and turned dark bronze. This method wasn’t going to work.
When I broke the news to BC, he desperately researched to see if anyone had succeeded where I had failed, and found that one blog stuck chunks of hokey pokey in its cookies after they were baked. I tried that, but the hokey pokey still melted on the bottom, and it was a lot of effort to individually garnish the cookies before they cooled. Desperate, BC insisted that the hokey pokey added something to the cookies, melted or not, and asked me to keep it in. I refused. He would have to settle for something different this Christmas; I was done.
But we had a party that night, and I’d promised to bring dessert, so the chocolate chip pancakes came with us. To my surprise, our friends went nuts for them. They said the flavor of the cookie was great, the caramel added a nice textural contrast, and the sea salt on top kept them from being overly sweet. Even though they were flat, I had the seed of a great recipe here. I hadn’t eaten a finished product (I was sugared out at this point from sampling too much hokey pokey and raw dough than was good for me), but I had to see what all the fuss was about. I tried one. It was delicious, full of brown sugar and vanilla notes. I’d used high-quality chocolate instead of chips, and you could taste the difference. But what set these cookies apart: the melted hokey pokey had solidified when it cooled. The cookies now had pockets of shattering crunchy, deeply browned caramel in every bite. They certainly weren’t what I’d intended to make, but they were fantastic in their own right. I would have to admit that BC was right; the hokey pokey would stay.
Spread the Snob
If you like this recipe, please recommend Confessions of a Cake Snob to someone you know! Follow me on Pinterest or Instagram for more ways to view and save the recipes. Please share this newsletter with a friend, comment on the website, or bake it and let me know how it went for you! Email me with comments, ideas, and suggestions at confessionsofacakesnob@substack.com.