
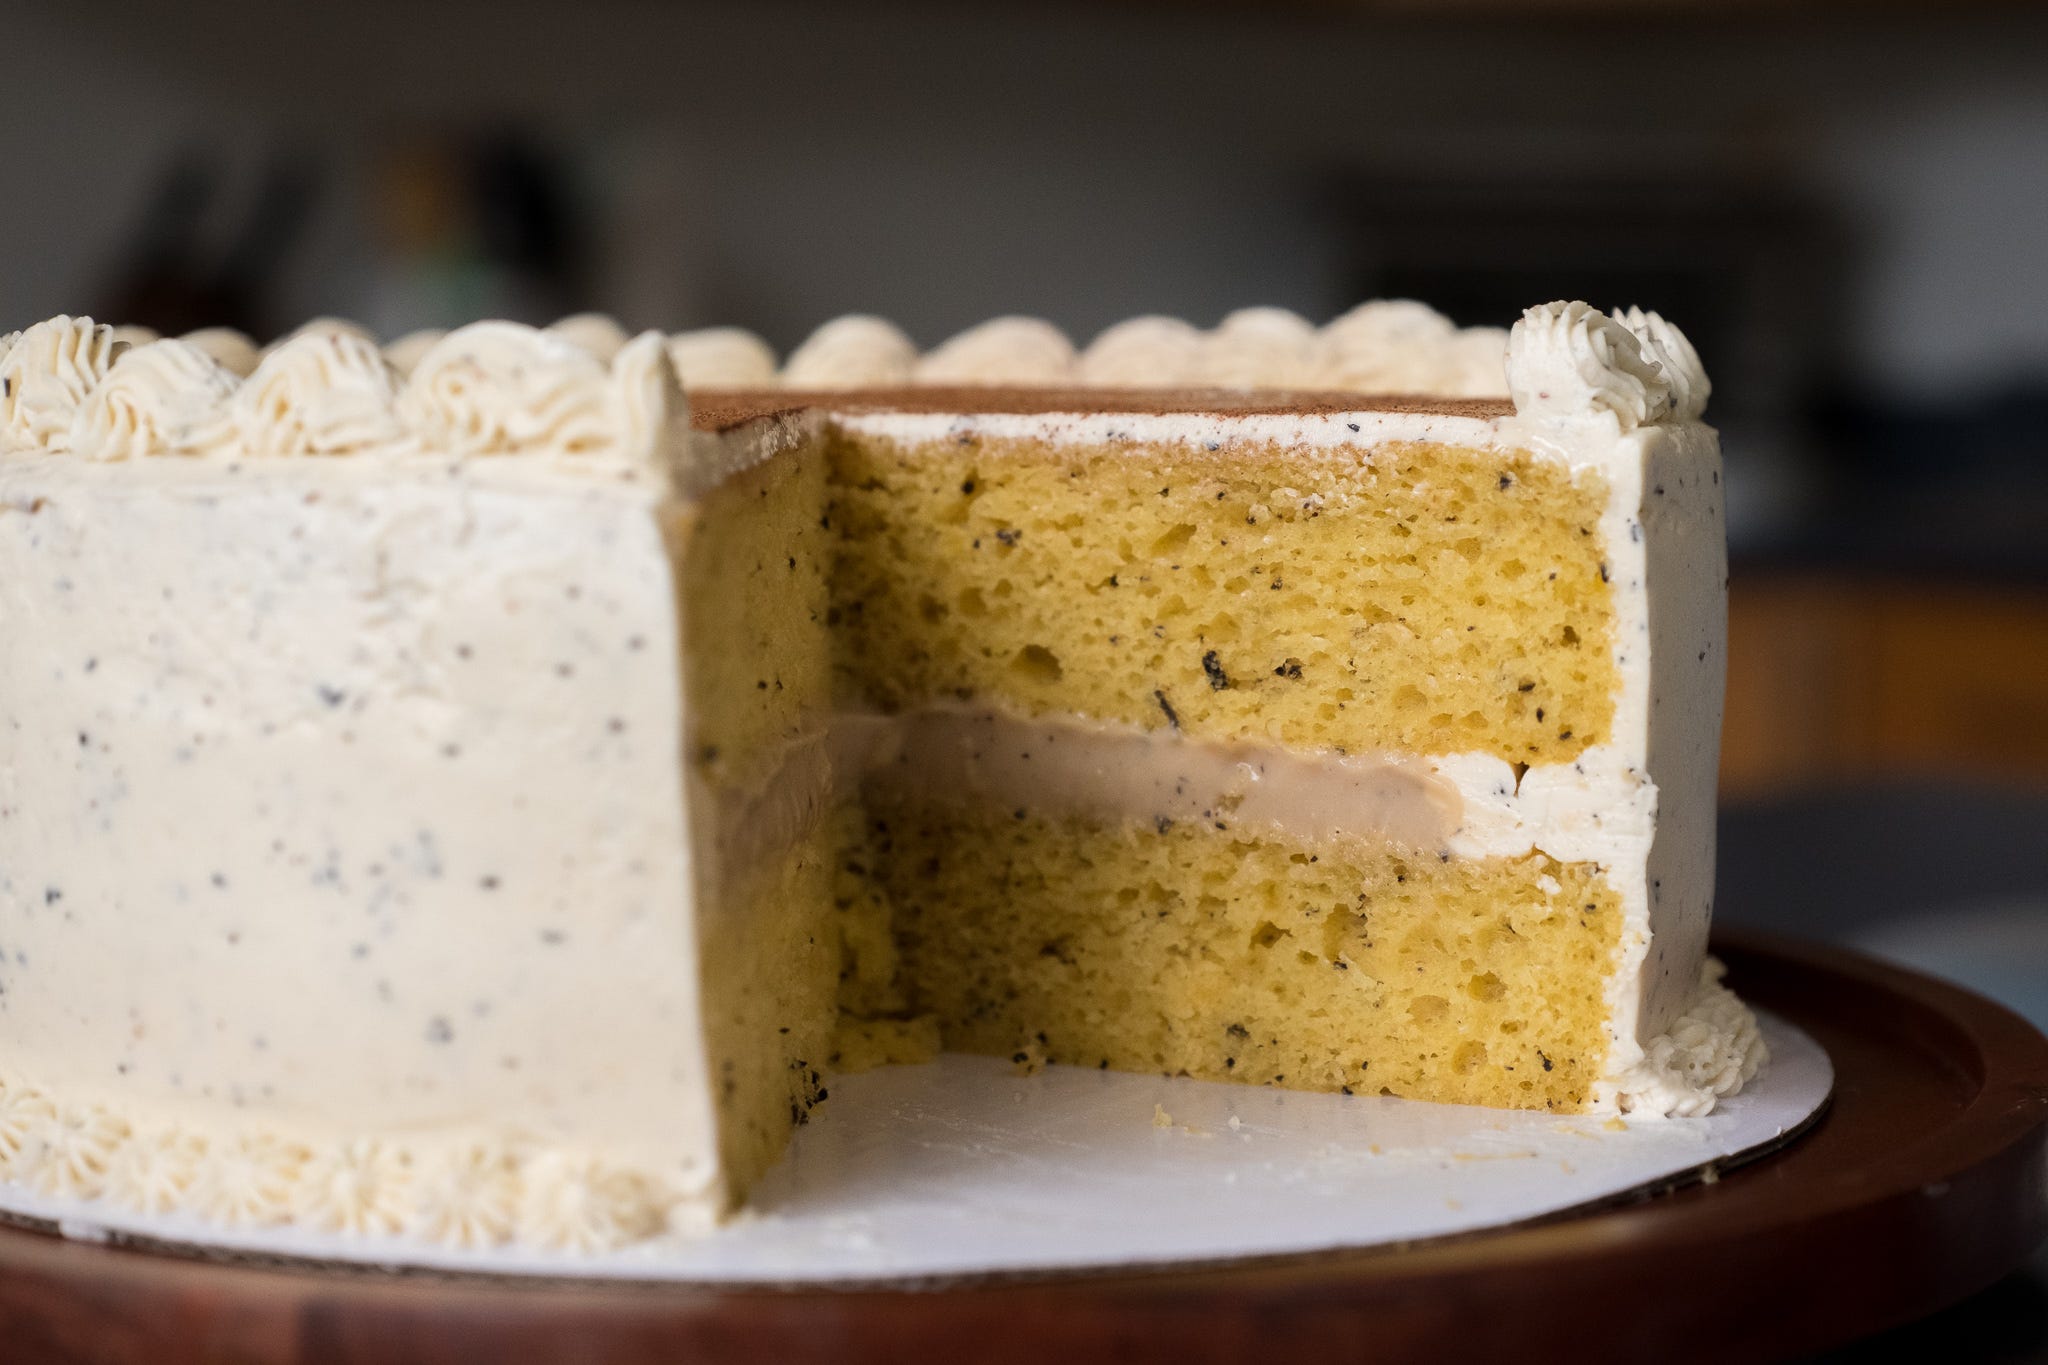
Chai Latte Cake
This cake came to my friend Allie in a dream.
The recipe
Yield: one two-layer cake
Time: about 4 hours
Ingredients
Crème Pâtissière:
2 egg yolks
⅛ c (15 g) cornstarch
1 ½ c (390 g) whole milk
¼ c (55 g) sugar
¼ tsp salt
1 tsp vanilla extract
2 tsp chai tea leaves
2 tbsp (30 g) salted butter
Cake:
One Duncan Hines Perfectly Moist Classic Yellow cake mix
One instant vanilla pudding mix
¾ c (160 g) vegetable oil
4 eggs
1 c (230 g) whole milk
1 tsp vanilla extract
2 tsp chai tea leaves, crushed finely
Frosting:
2 tsp chai tea leaves
1 c (230 g) sugar
1 c (230 g) whole milk
5 tbsp flour
2 sticks (225 g) salted butter, room temperature
1 tbsp vanilla extract
Instructions
Crème Pâtissière:
1. Whisk together the egg yolks, cornstarch, and ½ c (130 g) milk in a bowl until well combined. Set aside.
2. Stir together the remaining 1 c (260 g) milk, sugar, salt, vanilla extract, and tea leaves in a small pot. Cook over medium-low heat, stirring gently, until it begins to simmer, 2-5 mins. Small bubbles should appear on the edges of the milk mixture when you stop stirring, and it should be steaming. Take the pot off the heat.
3. Ladle the hot milk mixture into the egg yolk mixture one spoonful at a time, whisking constantly. Once you’ve added half of the milk mixture, add the rest all at once, stirring to combine.
4. Cook the crème pâtissière over medium-low heat, stirring constantly, until it boils and thickens, about 5-8 mins. Pour it through a strainer into a heatproof bowl. Place a piece of plastic wrap directly on the surface of the crème patissiere to keep it from forming a skin and place it in the refrigerator to cool.
Cake:
1. Preheat your oven to 350°F. Prep two 9-inch round cake pans by greasing the sides and lining the bottoms with parchment paper.
2. Place all the ingredients in the bowl of a stand mixer fitted with the whisk attachment. Beat on low speed until well combined. Stop and scrape down the sides and bottom of the bowl.
3. Beat on medium speed for 2 minutes, stopping once or twice to scrape down the bottom and sides of the bowl.
4. Pour the batter into the cake pans and bake them on the center rack of the oven for 18–22 minutes. They are done when a toothpick inserted into the center of the cake comes out with some moist but cooked crumbs clinging to it.
5. Leave the cakes to cool in their pans for 10 minutes, then turn them out onto cooling racks lined with foil or parchment paper.
Frosting:
1. Combine the chai tea leaves, sugar, milk, and flour in a small saucepan. Whisking constantly, cook over medium-low heat until the mixture boils and begins to thicken, 5-10 mins. Let it boil for a minute and then remove it from the heat.
2. Strain the mixture into a medium-sized heatproof bowl, place a piece of saran wrap directly on top of the mixture to keep it from forming a skin, and cool it in the refrigerator until room temperature, about 30 minutes.
3. When the flour mixture is almost cool, beat the butter in a stand mixer fitted with the whisk attachment on high speed for about 3 minutes until light and fluffy.
4. Add the vanilla and beat again on medium speed until it is well incorporated.
5. Add the flour mixture to the butter mixture one spoonful at a time, beating on medium speed, ensuring each spoonful is fully incorporated before adding the next.
Assembly:
1. Once everything has completely cooled, place one cake layer upside down (flat side up) on your cake stand. Fill a frosting bag outfitted with a large round tip (I used Wilton tip #2A) with about ½ cup of frosting and pipe a ring of frosting around the edge of the cake, inset a little bit. This is a frosting dam and will hold the crème pâtissière in place.
2. Spoon about half of the crème pâtissière on top of the cake, being sure it is not higher than the frosting dam.
3. Gently lay the second cake on top of the first one. For a flat top, place it upside down. For a domed top, place it right side up.
4. Fill a bag fitted with a large star tip (I used Wilton #1M) with about ¾ cup of frosting. Set aside.
5. Coat the cake with a very thin layer of frosting, a crumb coat, with an offset spatula. Chill the cake about 30 minutes until the frosting has set. It should no longer feel sticky to the touch.
6. Once the crumb coat is set, frost the top and sides of the cake.
7. Pipe a border of shells on the top of the cake and a border of stars along the bottom. If there is any extra frosting in your piping bags, use it for the top of the cake. Dust the top of the cake with cinnamon.
8. Store the cake in the fridge. When you’re ready to serve it, cut slices while cold and let them warm up to room temperature (about 15 minutes) before enjoying.
Notes and tips
You can use either loose-leaf chai tea or use the leaves from tea bags. If you’re using loose-leaf, make sure you grind it finely with a mortar and pestle or crush them up with a rolling pin before adding to the cake so there aren’t large hard bits in it. But don’t grind tea for the crème pâtissière or for the frosting. You want to be able to strain the leaves out of them so the texture remains smooth. If you’re using tea bags, the leaves won’t be able to be strained out, but that’s okay! They’re so small it won’t affect the final texture anyway.
When whisking or stirring something on the stove, make sure you drag your whisk or spoon through the middle; don’t just stir in circles along the outside edge. The middle is the spot most likely to burn. I do this by stirring in figure 8s instead of in circles.
Check the doneness of each cake separately. Chances are you didn’t fill both pans exactly evenly (I never do!), so one will probably be done baking before the other.
This is a bit of an unconventional frosting, called a cooked frosting or an ermine frosting. It has a very smooth texture and is much less sweet than a traditional buttercream, which is why I like it better. It also has the bonus of tasting buttery instead of like straight powdered sugar.
I beat the vanilla with the butter in the frosting to bring out the flavor of the vanilla more. Beating it into the fat allows the butter to take on the vanilla flavoring. Use your highest quality extract here; you can taste the difference!
For all my cake tips, check out Confessions of a Cake Snob’s Guide to Better Cakes from the last newsletter!
The story
Not a daydream; an actual dream. Except it was a lavender-chai cake. On our regular phone call, Allie said a cake like that sounded really good to her now that she was thinking about it in the daytime, but I was skeptical about so many strong, aromatic flavors in one dessert. So we compromised on a vanilla chai latte flavor, which both of us were excited about. With a milky crème pâtissière in the middle and a buttery frosting, I thought we were able to capture the essence of a vanilla chai in cake.
And now, some confessions. First: I owe this newsletter to two wonderful friends: Allie Mendelsohn and Christina Keddie. Second: crème pâtissière is just pudding. Plain, simple pudding. I use the French term to sound fancier than I am. Also because I disliked pudding until I made it myself, and I only did that because I didn’t realize that’s what a crème pat was until it was already finished. Third: most of my cakes have a box mix at their base; I just add extra ingredients to punch them up. I’m proud of this. Baking is about producing something delicious, not making everything from scratch. I don’t work harder than I have to in order to make something that is up to my standards. (My standards are just higher than they should be, which is why my recipes aren’t simple...) Fourth: this cake looks beautiful partly because I spent an obscene amount of time and perfectionistic energy on it, and I don’t wish you to do the same. Spending hours crumb coating, chilling, and then smoothing the frosting over and over again just isn’t worth it. Settle for a slightly wonky, not perfectly smooth cake. I’ll try to do the same next time. But the other reason it looks so good is Christina Keddie’s genius. She spent a long time at my house one afternoon, posing the cake, finding the right lighting, taking gorgeous photos, and then even more time at home editing those photos. For those of you who don’t know Christina, she is a talented photographer who has done everything from portraits to weddings and everything in between.
Check out more of her photos below. If you drool a little, I won’t tell.


Spread the love
If you like this recipe, please recommend Confessions of a Cake Snob to someone you know! Also feel free to share this newsletter with a friend, comment on the website, or bake it and let me know how it went for you! Email me with comments, things you’d like to see, and suggestions at confessionsofacakesnob@substack.com. I’m excited to hear from you!