


Apricot Pecan Scones
American-style scones are sorry, sad things.
The recipe
Yield: 16 scones
Time: 2 hours
Ingredients
2 c (250 g) flour
¼ c sugar, plus extra for sprinkling
3 tsp baking powder
¼ tsp salt
1 stick (113 g or ½ c) cold salted butter
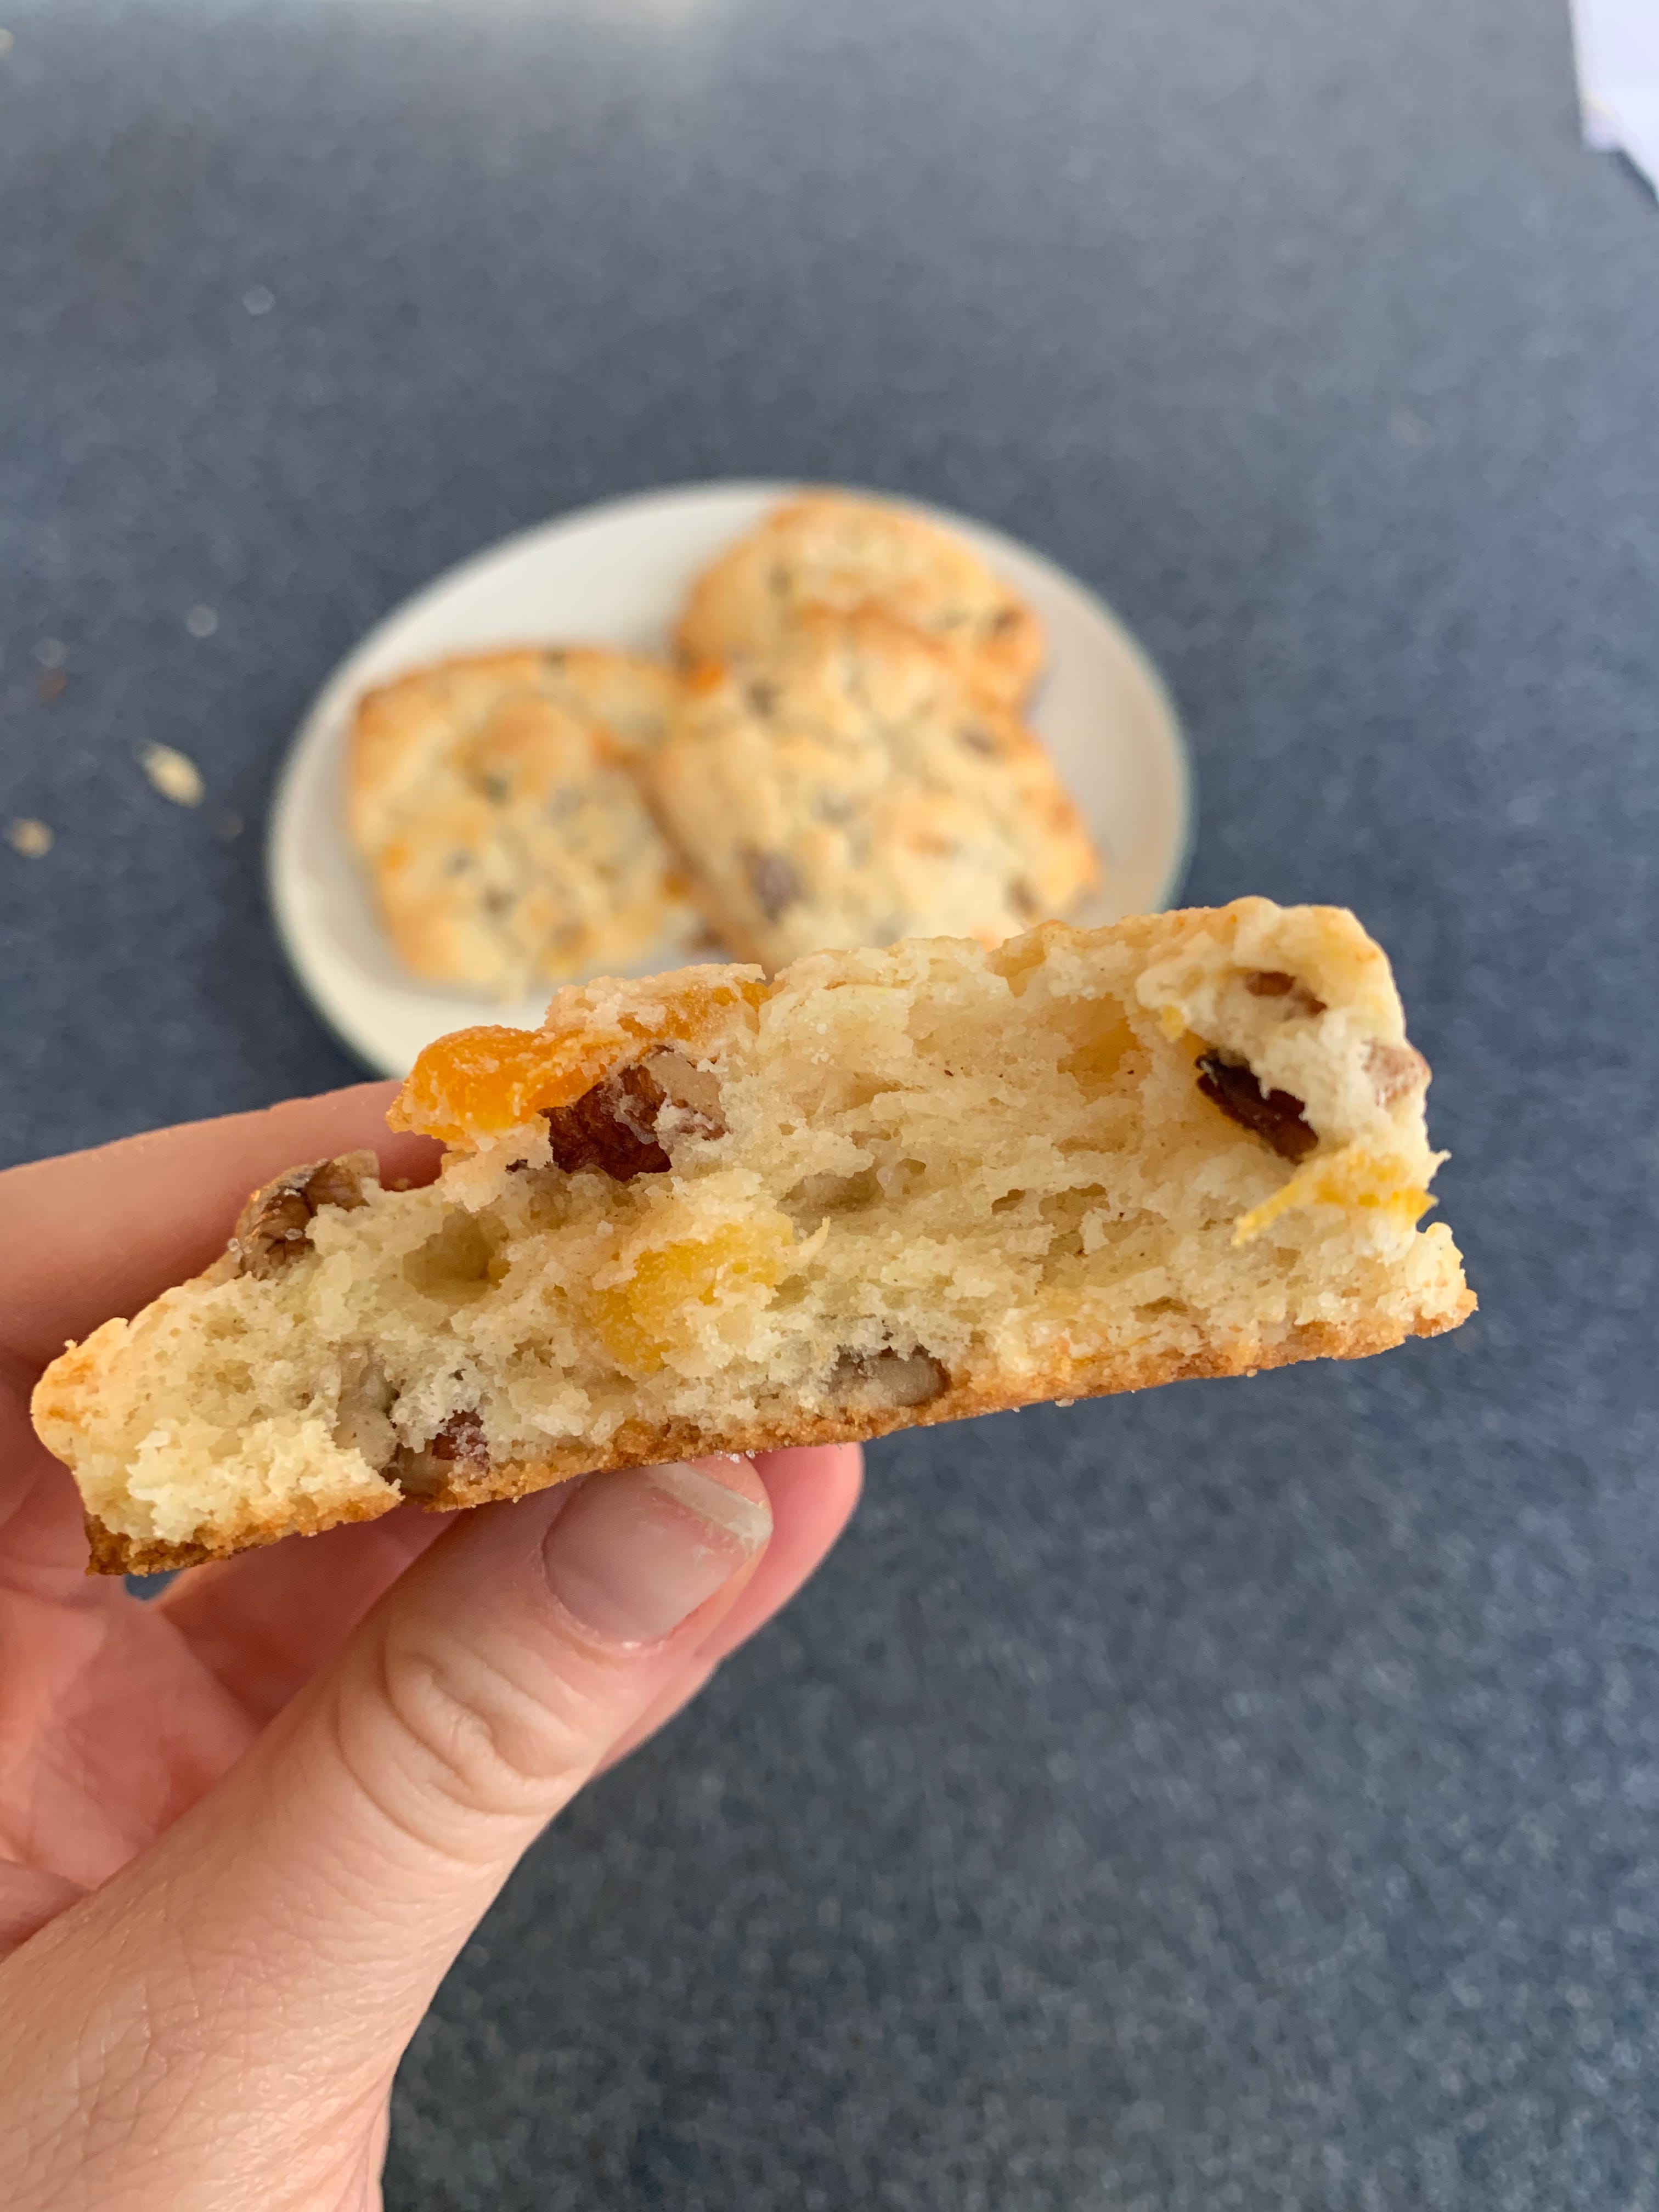
¾ c (135 g) chopped dried apricots
½ c (60 g) chopped pecans
1 c (240 g) heavy cream
Instructions
1. Preheat your oven to 425°F. Prep your baking sheet by laying a piece of parchment paper on it. Prep a section of your counter by lightly flouring it.
2. Combine the flour, sugar, baking powder and salt and mix well in a food processor or a large bowl.
3. Cut your butter into small cubes or slices. If using a food processor, add the butter to the dry ingredients and pulse it until the largest pieces of butter are the size of peas. Transfer to a large bowl. If you aren’t using a food processor, you can use a pastry cutter and cut the butter into the dry ingredients, or use your fingertips to gently rub the pieces of butter with the flour mixture until they are pea-sized.
4. Add the apricots and pecans and mix until they are coated with flour and evenly distributed.
5. Add the heavy cream and stir until the dough almost comes together, but there are still some dry bits remaining. Turn the dough out onto the floured counter.
6. Knead the dough gently just until it forms one mass and there are no dry bits remaining.
7. Shape the dough into a rectangle about 1 inch thick. Coat a sharp knife or a bench scraper with flour and then cut the dough into 16 squares. Transfer the scones to the parchment-lined baking sheet, spacing them an inch or two apart.
8. Using the little bit of cream left in the measuring cup, brush or spread it on the tops of the scones with your fingers. Generously sprinkle some sugar on top of the cream.
9. Bake the scones for 13–17 minutes, or until the bottoms look golden brown on the edges and the top corners of the scones are light golden brown. Remove them from the oven and let them cool on the sheet for 5 minutes before transferring to a wire rack. Serve warm with clotted cream and jam.
10. If you will not eat all the scones the day they are baked, freeze them. Reheat them in a 400°F oven for 5–10 minutes or until they’re warmed through in the middle.
Notes and tips
I cut the scones into squares instead of rounds because rounds require a cutter (which I don’t own) and re-rolling your dough, risking toughness. I could have done wedge shapes, but I prefer squares because they split in half better and therefore hold jam and cream well.
I cut my dough into 9 squares instead of 16, so the scones in my pictures will look bigger than yours. Mine were too big, though, for a single serving.
You want to be gentle when you knead your scone dough. If you over-knead, the scones will start to get a little tough and dry. The dough shouldn’t be perfectly smooth, and it’s fine if it’s on the sticky side, even if that sounds counter-intuitive.
Scones are done when they’re pale golden brown on top (it’s fine if the color is patchy), and when you lift them off the sheet, the bottoms should be a deep golden brown. Any longer and your scones will start drying out.


The story
Most American scones are not good. They are pitiful things that want to be biscuits or muffins but are neither, and therefore end up tough, bland, and crumbly. Americans eat their scones plain, but they want friends. They were made to be eaten with jam and clotted cream, which can improve even a mediocre scone; but a bad one on its own just sucks all the moisture out of your mouth as you chew.
But this is not what scones were meant to be. They should be a little crunchy on the outside and have fluffy, moist, and tender interiors. They should have a complex buttery flavor with a light sweetness. They should make you want to eat a second one, and another, and have another cup of tea just so you can eat more scones with it. And even though they are delicious on their own, they should be best friends with clotted cream and jam, because together, they are transcendent.
My journey to excellent scones, American that I am, was a long one. I needed to start with a recipe that had enough liquid and enough butter in it so that the final product was moist. This means a 2:1 ratio of flour to liquid. And for every two cups of flour, there should be at least five tablespoons of butter. (I added more because I like to put as much buttery goodness into my baked goods as I can, and it paid off.) The scones should be baked hot, between 400°F and 425°F. A hot oven will crunch up the outside of the scone before the inside can overbake, dry out, and get hard.
After you have your recipe, you also need to learn a little technique. Scones are simple once you understand what you’re doing, but if they take time to master, don’t lose heart. The payoff is worth it. The first thing to pay attention to is gluten development. Gluten is the protein that binds baked goods together and gives them structure, and every kind of baked good needs a different amount of it. Gluten forms when flour is hydrated with a liquid and then agitated. The more you mix and knead, the stronger the gluten will be (think of a loaf of bread). For scones, mix and then gently knead the dough just until it all comes together and starts to look smooth, then stop. Working the dough less than this will mean crumblier scones (not such a bad thing; they’ll still taste delicious) but working them more will make them tough.
The other key is knowing when to pull scones from the oven, something I struggled with. My friend Jamie, who mastered the scone long ago, demonstrated his process for me and gave me some tips when I was developing this recipe. Thanks to him, I realized I’d been baking my scones for too long. You want the bottoms to be golden brown around the edges, and the very top edges of the scone should have some golden color. Take a look at my pictures and see for yourself: they shouldn’t be very dark on the top, and the color tends to be patchy instead of even. Darker than that and they’ll still be good, but if you pull them at the right time they will be so excellent you’ll be tempted to eat them all in a single afternoon.
Spread the snob
If you like this recipe, please recommend Confessions of a Cake Snob to someone you know! Follow me on Pinterest or Instagram for more ways to view and save the recipes. Please share this newsletter with a friend, comment on the website, or bake it and let me know how it went for you! Email me with comments, ideas, and suggestions at confessionsofacakesnob@substack.com.
Made these today and they are delicious! I added in a handful of fresh cranberries I had in the freezer. Yum. 😋
Where does one obtain clotted cream in the U.S.? I have always wanted to try it